Last updated on June 28th, 2023 at 07:58 am
Scan tools can be very useful for diagnosing issues with vehicles that are 1996 and newer. This is because they have all the necessary sensors installed in them to generate readings for various engine components. A cat converter is a unit that fits well into the front part of a car’s exhaust system, which is close to the engine. It must reduce the emission of gaseous pollutants from the exhaust system, such as nitrogen oxides (NOx), carbon monoxide (CO), and hydrocarbons (HCs).
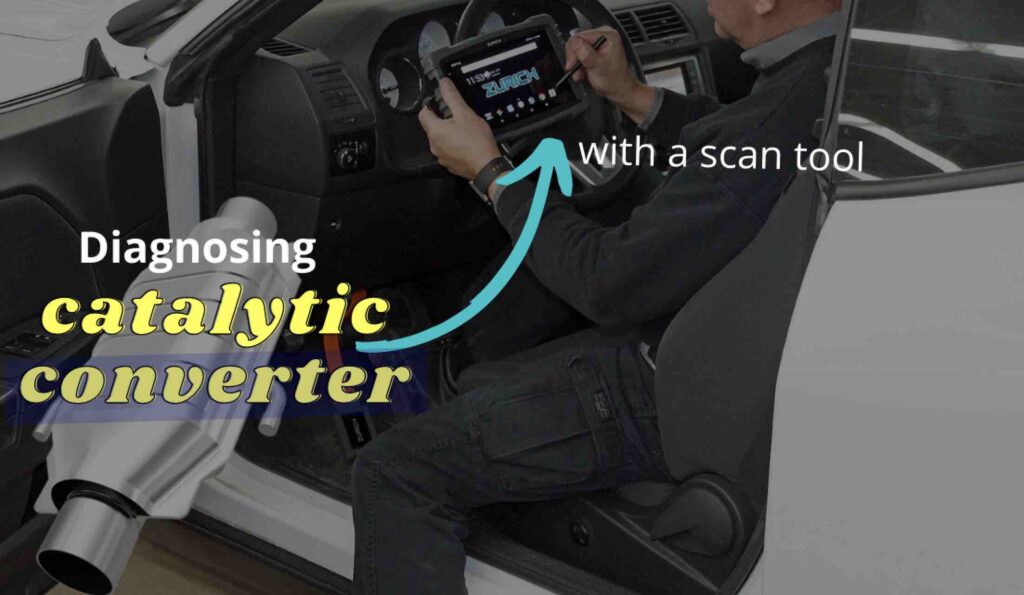
Every catalytic converter that’s well-designed and placed in the exhaust system next to the engine can minimize all gaseous emissions drastically, including unburnt hydrocarbons, carbon monoxide, and soluble organic fractions. But how do you check the catalytic converter with a scan tool?
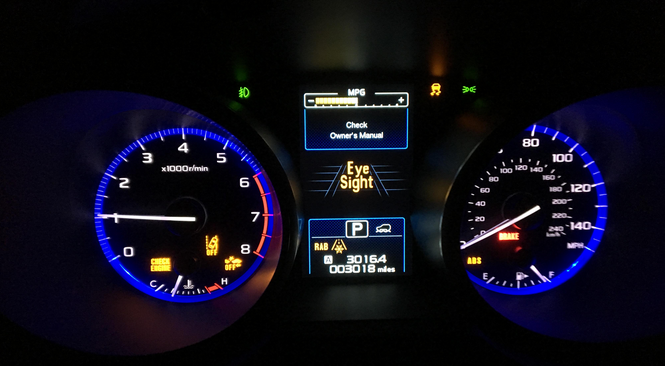
The first thing to do is to check engine light illuminates when you start the vehicle. Note that this is the first step in diagnosing any problem. After that, you can use a scan tool to determine why the check engine light has switched. A scanning tool will help you figure out what caused the check engine light to be illuminated. Do you want to know how to check a catalytic converter with a scan tool, For a clog and other issues? Keep reading…
related Article: How To Extract Platinum From Catalytic Converter
What Happens When The Catalytic Converter Goes Bad?
Catalytic converters don’t usually fail on their own; when they fail, it’s usually a symptom of a larger problem. So you must identify the causes of the failure and perform a repair before installing a new converter.
When the catalytic converter fails, it will begin to flow poorly because of being clogged up, and it will cause the car to run exceptionally poorly. Not only that, when the catalytic converter fails, it could lead the car to be sluggish in performance and eventually shut down the engine.
How To Use A Scan Tool To Check Your Catalytic Converter
Bad cat converters cause more than 70 percent of failures of smog or emission test. A bad cat converter can cost you much due to its negative impact on your car. So you must know how to use a scan tool to check your catalytic converter to determine whether it is working well or is faulty.
Step 1
Put your car’s OBD2 scanning tool connector to the diagnostic link connector (DLC). The diagnostic link connector has 16 pins and it looks like a triangle. But if you can’t find it, use the web to search for its location and make sure you have specified your car’s model while searching.
Step 2
Your vehicle’s engine can be turned on now so the scanner can communicate directly with the vehicle’s onboard system. Make sure you don’t start the vehicle’s engine; only the ignition should be turned on. After you do this and the scanner remains blank, try reconnecting it or shaking it a bit.
This is because, in some scanners, you will need to input your car’s identification number. Also, you may be asked to input the vehicle’s brand and model.
Step 3
Once the scanner has finished booting, go to the menu and choose ‘Trouble Codes’ or ‘Codes’.
Step 4
Select the system you want to troubleshoot (Cat converter). Once you do this, 2 or more codes will appear via your screen after this process.
Note that the codes that will appear can either be Pending codes or Active codes. However, there are other types of codes.
The active codes are also called live codes, which keep the Check Engine Light on. These codes indicate a problem with the system that needs to be solved. While pending codes indicate that there’s a pending problem.
Step 5
It’s time to interpret the code. The scanning tool will have to diagnose the problem and reveal it via a code. But in case you’re not familiar with the interpretation of these codes, you can go online and do a search for them. Read also: Best cat converter cleaner
How Do You Diagnose A Bad Catalytic Converter With Scan Tool
Your vehicle’s Catalytic converters can only function well if the engine is operating normally and the exhaust system isn’t leaking. You can diagnose a bad catalytic converter with a scan tool with these 13 key steps.
Step 1: Find and get the vehicle history
Note that drivability, performance, and car service history can help you while diagnosing. Just find out about the following:
- Find out if the catalytic converter has ever been replaced
- Find out if service has been performed in the last 6 to 12 months while in use
- Find out if the vehicle needs that coolant or oil to be added regularly
- Find out if the fuel economy has decreased recently
- Find out if the engine is hard to start, either hot or cold
- Find out if the engine runs smooth
- Find out if there are any engine misfires
- Find out if the vehicle always runs out of fuel
- Find out if the wrong fuel was added
- Find out if fuel additives were used
- Find out the condition of the coolant
- Find out if the heater works properly
- Find out if aftermarket parts have been added before
- Find out about the performance of the PCM programmer (chip)
- Find out about the performance exhaust
- Find out about the remote starter
- Find out how the vehicle was used and driven
- Find out if towing with the transmission in low gear
- Find out if the parking brake is engaged puts extra load on the engine
- Find out if locked-in 4WD is low for extended periods
Step 2: correct other engine codes
Note that any condition that increases your car’s emissions or affects sensor readings can cause the cat converter to fail diagnostics even when the converter is good. Remember that many OBDII trouble codes will affect how a converter performs. You can correct all other codes before you correct converter codes.
Below are the codes that relate to the catalytic converter:
- P0421 Means warm-up catalyst efficiency below the threshold (Bank 1)
- P0422 Means main catalyst efficiency below threshold (Bank 1)
- P0423 Means heated catalyst efficiency below threshold (Bank 1)
- P0424 Means heated catalyst temperature below threshold (Bank 1)
- P0430 Means catalyst system efficiency below threshold (Bank 2)
- P0431 Means warm-up catalyst efficiency below threshold (Bank 2)
- P0432 Means main catalyst efficiency below threshold (Bank 2)
- P0433 Means heated catalyst efficiency below threshold (Bank 2)
- P0434 Means heated catalyst temperature below threshold (Bank 2)
Step 3: Correct Exhaust System Leaks
Any leak in the exhaust system could affect O2 storage in the converter which can lead to improper readings of the O2 sensor and affects the AFR (air/fuel ratio) balance. You can do the following:
- Examine all weld parts for cracks, especially the O2 sensor ports.
- Inspect all pipe connections if there’s improper alignment or burnt gaskets.
- Examine all clamp connections for leaks.
- Check for any flex-pipe in the system.
Step 4: Inspect Converter Temperature
You can use an infrared thermometer to inspect the temperature of the cat converter’s front and rear weld rings. This is to make sure the converter has “lit off.” However, depending on the size of the converter, most of them begin to light off around 350°F and are fully lit when 500°F.
But under normal conditions, the rear weld ring might reach temperatures that are as much as 150°F higher than the front weld ring. But if the rear weld ring gets to temperatures above 150°F higher than the front weld ring, then the engine may have an emissions issue.
- Bear in mind that the temperature of the cat converter’s rear weld ring is directly related to the amount of work the converter would perform. This simply means that an elevated temperature may indicate emissions issues.
- When you notice that the rear weld ring is a bit cooler than the front, then the converter might not be lighting off. If this happens, it may indicate the converter has failed or the mixture in the exhaust is not correct, and this is a symptom of an underlying emissions problem.
- Normally, cat converter temperatures won’t exceed 1200°F while on a well-running engine. The periodic operation that is above 1600°F can negatively affect the cat precious metals coating on the substrate, which will reduce its efficiency. Also, excessive temperatures can minimize the converter’s durability, or, when high, it can destroy the converter’s matting or substrate.
- A damaged matting and melted substrates normally happen at temperatures exceeding 1700°F. So it’s possible to test for damaged matting or cracked substrate by tapping on the converter housing.
- When there’s bronze/blue rainbow discoloration of the shell naturally shows elevated temperatures. So if the cat converter is removed, check through the substrate to note if the small passageways are melted or collapsed. Sometimes the substrate might appear normal at either end, this can happen since the substrate melts internally.
Step 5: check backpressure
When there’s an excessive system backpressure, it can generate a converter efficiency code. Sometimes backpressure may vary with application. But normally, the pressure should be less than 3 PSI when at 2,000 RPM and less than 1.5 PSI when idle.
- While using the O2 sensor ports, you can check for excessive back pressure via the converter
- When there’s high backpressure behind the converter shows a restricted muffler or resonator
- While higher backpressure ahead of the converter shows a restricted converter
- A high backpressure via the exhaust manifold shows a blocked Y-connection
- An excessive backpressure will badly affect AFR, which would lead to excessive emissions
Step 6: Examine the Oxygen sensor
- The Oxygen sensors are very vital to fuel control and the PCM’s converter diagnostics.
- Make sure the front sensor is very active and should be approximately 0 to less than 1 volt. But in case the front sensor indicates low or no voltage, then the sensor could be bad; or, it may have an exhaust leak before or immediately behind the sensor.
- Normally, the rear sensor is supposed to emit a fairly steady signal. But when the signal is below 250 mv, then examine for activity by rapid accelerator kick down, or by increasing the engine speed to approximately 2,000 RPM. When you do this, some movement should be noted.
- Examine the O2 sensor operation to make sure the car is in fuel control. In some applications, the front Oxygen Sensor must be switching about 450 mv and while the rear Oxygen sensor must be above 450 mv, and normally about 650 – 850 mv. But in case the rear Oxygen sensor isn’t above 450 mv, then a 4- or 5-gas analyzer should be used to check the car’s emissions system. Note that the front AFR sensors should show AFR of 14.7:1 while under most conditions.
Step 7: Check the cooling system
Sometimes internal cooling system leaks can destroy a cat converter.
- When there’s an internal leak in the cooling system, it will allow coolant to pass through the exhaust system and poison the cat converter.
- Do a leak-down test to ensure the cooling system holds enough pressure for about 15 minutes.
- If the cooling system is not properly maintained, it may build up sludge, which may reduce the heat transfer from the combustion chambers, increasing emissions.
Step 8: Check fuel system
In the fuel system, there are a lot of things that can damage a cat converter.
- So perform a leak-down and fuel pressure test. Make sure that fuel pressure stays within the manufacturer’s specifications and ensure you hold steady after the pump is shut off.
- A rapid pressure drop shows that the fuel injectors are leaking or there are issues with the fuel pressure regulator.
- Any fuel pressure slightly shy of the normal working condition can result in significant emissions problems, which can also result in excessive cranking time whenever it is cold. However, both conditions can cause rapid converter failure.
- Replace the fuel filter according to the manufacturer’s recommended schedule. After that, inspect for water contamination via the fuel tank and if there’s air trapped in the fuel rails, this can cause the cylinder misfires.
Step 9: The Fuel Trim
Remember that the PCM will attempt to maintain an AFR of 14.7:1, which means it will use data from the vehicle’s sensors, mainly the MAF and O2 sensors.
- A short-term fuel trim depends on readings from the recent engine operating conditions. A long-term fuel trim averages many short-term readings that can affect the fuel base mapping.
- So any fuel trim that reads greater than 5% shows there’s an issue that needs checking of cylinder balance or the checking using a 5-gas analyzer.
- Note that fuel trim happens to be one of several systems that affect emissions. The fuel trim may be correct, but the engine may still produce excessive emissions.
Step 10: You should check Emissions using a Gas analyzer
Be aware that one of the most effective methods of solving the emissions problem is sampling exhaust gases. Just keep the following in mind:
- Higher HC emissions mean unburned fuel.
- A higher CO level means partially burnt fuel or oil.
- A higher NOx level is typically caused by higher combustion pressures and temperature, excessively advanced ignition timing, and slightly lean AFR.
- Tailpipe emissions that are readings low in HC and CO levels with higher NOx emissions are normally not caused by a bad cat converter.
- A low HC and CO readings mean that the cat converter is working.
Step 11: Perform Cylinder Balance Testing
A cylinder that doesn’t work as hard as the others would likely cause the emissions problem.
- Some scanning tools can accurately test cylinder balance by dropping one cylinder at a time.
- Using an infrared thermometer, check for cylinders working hotter or colder than others. What this means is that there’s a lean-or-rich condition. In like manner, it can mean high-or-low cylinder compression.
- The rear cylinders working progressively hotter than the front show that the cooling system deposits (rust or sludge) restrict flow to the engine block’s rear. This can result in high NOx emissions because of the increased combustion temperatures, even if the average coolant temperature is reading normal.
Step 12: Mechanical Condition
In a high-mileage engine, many mechanical issues can contribute to high emissions.
- So in case the vehicle is so equipped, it means the EGR valve and passages must be checked for proper operation and cleaned if it’s needed.
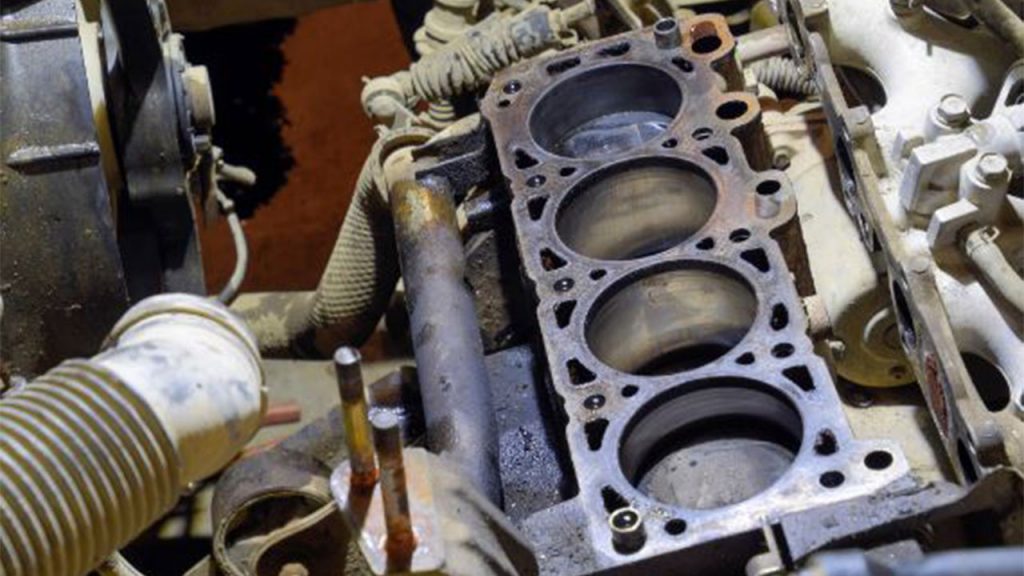
- Do a compression inspection to identify the condition of the piston rings, combustion chambers, and valve train.
- Examine the camshaft lobes and the timing belt for wear. Then verify cam and ignition timing.
Step 13: re-flash the PCM
In case you don’t know, re-flashing happens to be the process of updating the PCM (Powertrain Control Module) with the latest program that is made available by your vehicle’s manufacturer.
- Some car manufacturers have released their Technical Service Bulletins, which show that a re-flash of the PCM will help to solve emissions issues.
- Whenever a car is new, there may be unseen things that would happen as engine parts are aging.
- PCM updates are normally very specific to the car build dates and options.
How To Check For A Bad Catalytic Converter
Step 1: Use the scanning tool connector and plug it into the OBDII port that you see on the steering wheel’s left-hand side.
Step 2: Then turn on the vehicle and leave it to run for 10-15 minutes to increase the engine temperature
Step 3: When your scanning tool reads back code P0420, there’s a problem with the catalytic converter.
Step 4: Check the live data on your sensor
Step 5: Then click on the Oxygen sensor data
Step 6: But in case the Oxygen sensor fluctuates from very high to very low, it also means there’s a problem.
Cat converter codes include: P0420, P0421, P0422, P0423, P0424, P0425, P0426, P0427, P0428, P0429, P0430, P0431, P0432, P0433, P0434, P0435, P0436, P0437, P0438, P0439.
How Do You Check If A Catalytic Converter Is Bad?
- Your catalytic converter should be loosened from the header pipe or exhaust manifold.
- When this is done, it will allow gases to flow through. Once you observe an improvement in engine performance; then you’re on the right track.
- Note that backpressure testing can help you to diagnose a clogged exhaust system.
- You can do this test directly at the exhaust system; this is to detect a plugged catalytic converter.
- You will need a back pressure gauge for this test.
- Run a temperature test by using an infrared thermometer.
- If the catalytic converter is good, the rear of the converter will be 20 degrees hotter than the front.
How Do You Check A Catalytic Converter At Home?
If you want to test for blockage of the cat converter at home, access the pressure point before the cat converter and install a back pressure gauge before measuring the back pressure. Usually, the reading should be less than 9 kPa when idle and less than 20 kPa when at 2500 RPM.
Whenever it’s in high reading, it indicates that the cat converter may be bad or blocked. So to test its efficiency, hold the engine speed at 2500 RPM for some minutes to ensure it heats the cat converter and leave the engine idle.
When using a pyrometer (high-temperature thermometer), you can measure the temperature of the exhaust pipe by around 50 mm before and after the cat converter. Temperature output should be at least 40°C hotter than the inlet temperature. But if not, the cat converter may be bad.
How Do I Know If I Have A Bad O2 Sensor Or Catalytic Converter?
Be aware that the only way the ECU will know a bad catalytic converter is by the readings it gets from the Oxygen sensors. This is because a bad Oxygen sensor will show that the catalytic converter is bad. But if the code shows a bad catalytic converter, then further tests are needed to be run to know if it’s a bad O2 sensor or a bad catalytic converter. But good mechanics should be able to handle this. Here’s how to know if an O2 sensor is bad.
- There will be reduced gas mileage.
- There will be bad smells like rotten eggs that will come from the exhaust.
- Illumination of the check engine light.
- You will observe that your engine idles roughly.
- Your car will suddenly be hard to start.
Conclusion
As you have seen, it is very easy to use a scanning tool to figure out and diagnose your vehicle’s catalytic converter problem and also know the cause behind the malfunction.
I have provided you with the steps needed to achieve this. Now you can use the steps above to check your catalytic converter with a scan tool