Do you feel your fuel injector is dirty and clogged and then you looking for How to clean fuel injectors without removing them? Well, this article will guide you through 5 ways to clean fuel injectors without the removal of the injector. All the options here are very quick, easy, inexpensive, and effective, but the fifth one is the most effective and is the best option for cleaning out a heavily clogged injector. So if you have a heavily clogged injector, you wanna opt for that one.
So why do you need to clean your fuel injector? Well, dirty fuel injectors can wreak havoc on your car’s performance, causing rough idling, hesitation, decreased fuel economy, and can even lead to engine failure. Luckily, with the tips I will share with you in this article, you might not have to take your car to a mechanic for a professional cleaning which will be costly, but you can do it yourself. Related: Bad Fuel Injector Symptoms
5 Ways On How to Clean Fuel Injectors Without Removing Them
Here are five ways to clean your fuel injectors without removing them:
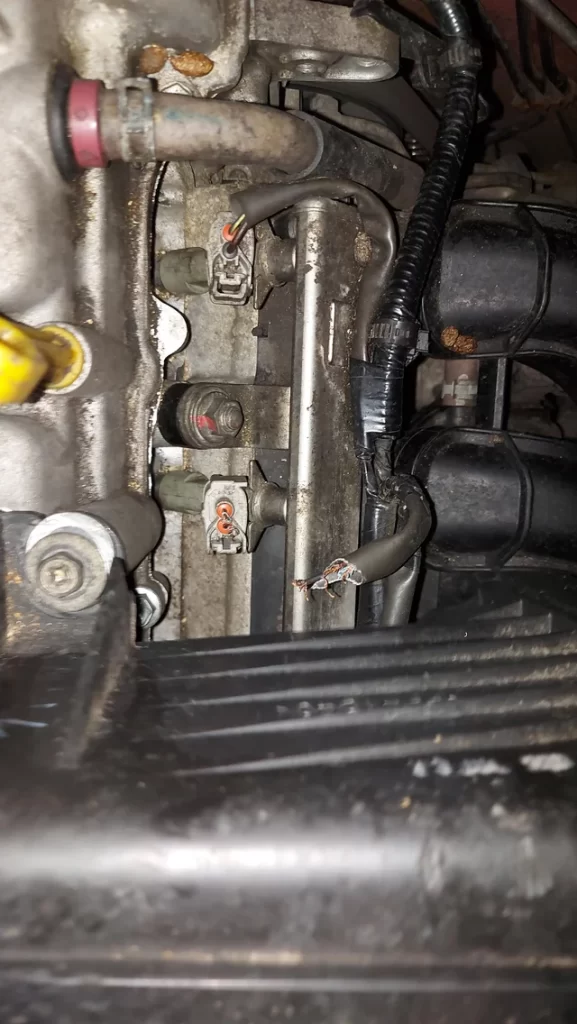
1. Use a Fuel System Cleaner:
This is the simplest and most common approach. Think of fuel system cleaners like a powerful internal shower for your engine. You add a bottle of concentrated cleaner directly to your gas tank during a fill-up. One injector clean highly recommend is the Chevron Techron Concentrate Plus Fuel System Cleaner. When you apply the cleaner, as you drive, the cleaner mixes with the fuel and works its way through the entire fueling system, including the injectors, and then dissolves the built-up deposits, clogs, and gunk in the fuel injector.
Pros: Easy to use, readily available at auto parts stores and gas stations, relatively inexpensive.
Cons: Might not be as effective for heavily clogged injectors, and may require repeated use for optimal results.
Here is how to use the Chevron Techron Concentrate Plus in Cleaning Your Fuel Injector.
So first you will need:
- A Chevron Techron Concentrate Plus cleaner solution.
- A Funnel
- Gas station (or fuel can if topping off at home)
- Gloves and safety glasses (recommended)
Before you begin, please note that fuel system cleaners are flammable liquids so avoid sparks or applying the cleaner close to open flame.
Here is what to do:
- Check Your Gas Level: Ideally, you want your car to be near empty (or less than half a tank) before adding the cleaner. If possible, let your gas be on reserve. This ensures the cleaner gets a good concentration in the fuel.
- Read the Label for dosages: Though the steps below are based on Chevron Techron Concentrate Plus, double-check the instructions on the specific bottle you purchase because if you purchased a different brand, it might have slightly different procedures or recommended dosages. Next
- Locate the Gas Tank: Pop open your car’s fuel door locate the gas tank filler neck and place the funnel to it.
- Add the Cleaner: Using the funnel and holding it in place, carefully pour the contents of the Chevron Techron Concentrate Plus bottle into the gas tank(typically 20 ounces).
- Fill Up Your Tank: Fill your gas tank with fresh fuel. This will help dilute the cleaner to the proper concentration and distribute it throughout the fuel system.
- Drive It Out: Once you’ve filled up, hop in your car and take it for a good drive. Aim for at least a 30-minute drive, allowing the cleaner to circulate through the fuel system and clean the injectors.
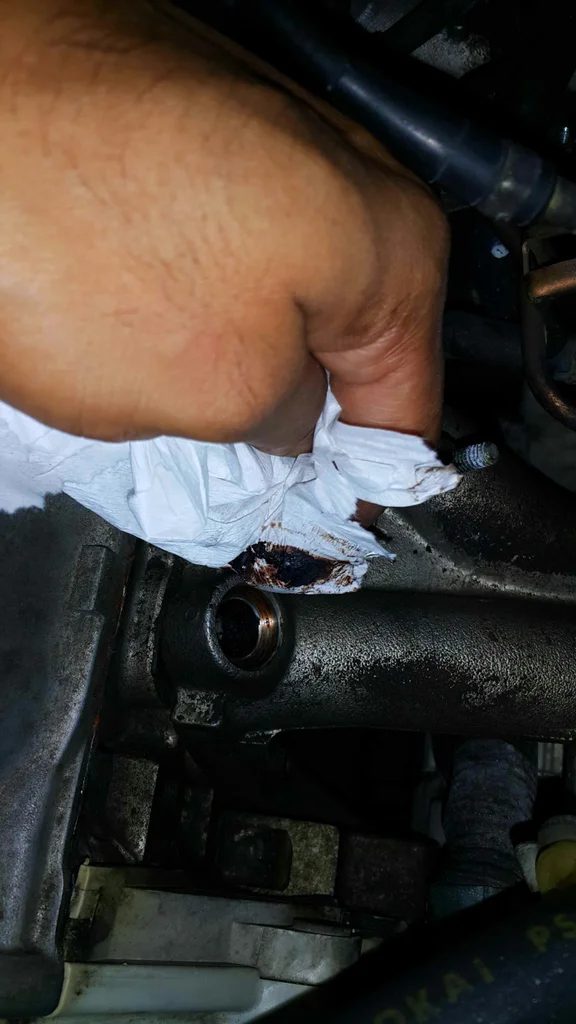
2. Using Seafoam Treatment:
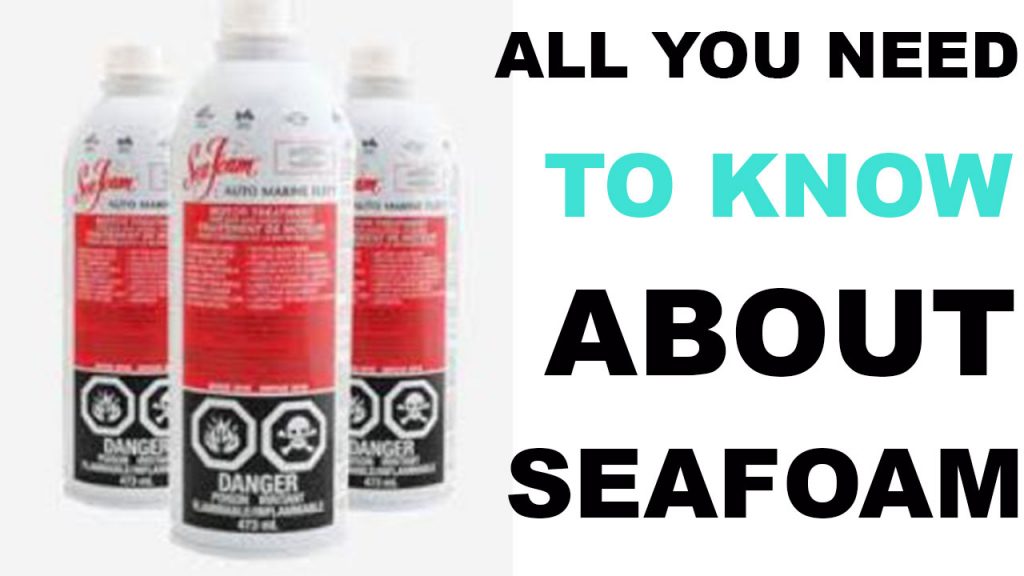
Seafoam is a popular fuel system cleaner that comes in both liquid and spray forms. The liquid version is similar to fuel system cleaners, added directly to the gas tank. The spray version, however, offers a more targeted approach. You can follow specific instructions (consult a mechanic or online resources) to spray Seafoam directly into the intake manifold, allowing it to clean the injectors more intensely.
Pros: Can be more effective than traditional fuel system cleaners, a good option for moderate levels of clogging.
Cons: Seafoam treatment can be messier than using a fuel system cleaner, following proper application procedures is crucial for safety and effectiveness.
Here is how to apply seafoam treatment:
Begin by adding a cleaning dose of Sea Foam directly to the fuel tank. For a car or truck that holds around 10 gallons of fuel, you can add around 20 ounces of Sea Foam to the gas tank or even more. The good thing about Sea Foam is it’s made from highly refined petroleum, so it’s completely safe for your engine, so you can’t add too much! In fact, the more Sea Foam you use, the better the cleaning power. Now that you are done with that, let’s get that engine warmed up if it is not already!
Ideally, the engine should already be warm. If you’re starting from a cold engine, you have to run the engine for at least 10-15 minutes. Once the engine’s nice and hot, shut it off and get ready to replace the fuel filter.
Simply twist off the fuel filter housing cover and remove the old filter. Once the old filter is out, drain or siphon any remaining fuel from the housing. Here’s a neat trick – instead of priming the empty housing with diesel fuel, you should fill it up with Sea Foam and then install the new filter.
Now that the fuel filter is filled with Sea Foam, you have to start the engine and let it idle for two minutes or more but not for so long. During this time, the engine will be running purely on Sea Foam, giving those injectors and chamber components a good soak thereby cleaning and unclogging the fuel injector. After two minutes, shut off the engine and let the Sea Foam work its magic for 5 to 15 minutes, hot-soaking those deposits.
And finally, driving! After the hot soak period where you turn off the car engine let the seafoam set for 5 to 15 minutes, start the engine again, and operate it for 30 minutes. Don’t be shy to give your car a good acceleration! The more heat and compression under load, the better the cleaning process.
3. Italian Tune-Up (High-Rev Technique):
This method involves driving your car at high RPMs (revolutions per minute) for a short period. The idea is that the high engine speed forces more fuel through the injectors, potentially dislodging some of the built-up deposits. An important thing to note is that this technique is not recommended for all vehicles and can be risky if done incorrectly. So, you really need to be careful when you go this route and you need to have the right skills to do this
Pros: Can be a free or very low-cost option if done carefully.
Cons: Potentially risky for older engines or those not designed for high-rev driving, might not be very effective for heavily clogged injectors. Please be sure to consult your car’s manual or a mechanic before attempting this method.
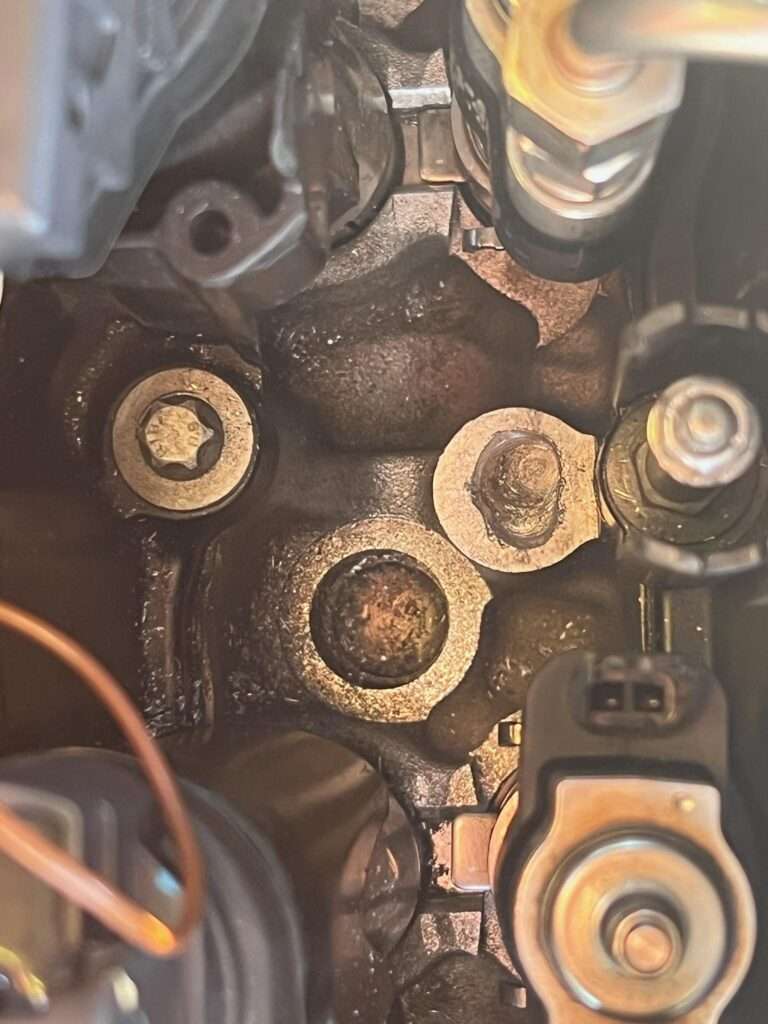
4. Walnut Shell Blasting (Professional Option):
While this is not a DIY method, walnut shell blasting is a professional cleaning technique worth mentioning. With this method, mechanics use a machine that blasts crushed walnut shells through the intake valves directly onto the injector tips. The walnut shells are soft enough not to damage the injectors but hard enough to scrub away deposits, clogs, and dirt from the fuel injector.
Pros: Very effective for heavily clogged injectors, a professional cleaning ensures proper application and safety.
Cons: Requires a trip to a mechanic and can be more expensive than other methods.
5. DIY Injector Cleaning Kit (Advanced Option):
This method involves purchasing a cleaning kit that typically includes a cleaning solution, a pump, and adapters to connect the kit to your car’s fuel system. You essentially flush the cleaning solution through the injectors while the engine is running.
Pros: More thorough cleaning than fuel system cleaners, potentially cheaper than professional cleaning.
Cons: Requires some mechanical knowledge and can be messy, following detailed instructions is crucial to avoid damaging the fuel system.
The best method for cleaning your fuel injectors depends on the severity of the dirt, clog, and your comfort level. For mild clogs, a fuel system cleaner like Chevron Techron Concentrate Plus or Seafoam treatment might suffice. And for more stubborn or heavy clogs, consider a professional cleaning like walnut shell blasting or a DIY cleaning kit watch our video guide below to see if you will be comfortable with the process.

