Your car’s rear view mirror is an indispensable safety accessory that helps you observe whatever is behind you without stressing your neck. The mirror is the extra pair of eyes you have to monitor traffic behind, know who’s on your tail, safely switch lanes, pull over, and generally stay safe on the road. When this essential mirror is damaged, replacement is paramount if you must continue driving.
While calling a mechanic is ideal, going the DIY route saves you some extra cash and gives you a sense of fulfillment in handling simple tasks. Also, changing your rear view mirror isn’t much of a big deal to call for a mechanic unless you have other issues with your vehicle that you want the auto expert to handle together.
With that said, let’s get started with the process.
How to Remove Rear View Mirror from Mount
There are two ways to remove your rear view mirror from its mounting bracket on the windshield, depending on how it was installed. Some manufacturers use adhesives to glue the mirror’s base to the mounting bracket on the windshield, while others use screws to keep them in place. Let’s look at both removal processes.
Removing Screw-mounted Rear View Mirrors.
Removing this type of rear view mirror is easy with the following steps.
Step 1: Locate the screw that binds the mirror to the windshield at its base on the mount bracket.
Step 2: Get an Allen wrench or screwdriver, fix it to the screw at its base, and start unscrewing.
Step 3: After loosening the screw attached to the mount bracket, gently take off the rear view mirror. If there are more screws, unscrew them all.
Step 4: Replace it with the new one by fixing the screws back in their places and using the Allen wrench or screwdriver to fasten them to the mount. Be careful not to overtighten the screws. Once you notice a significant level of resistance as you screw in the anticlockwise direction, stop screwing.
Step 5: Test the mirror by holding the base and applying a little pressure in any direction to see if it moves. It should be firm on the windshield if you screwed it rightly with the correct screws.
Step 6: In some cases, the mounting bracket is removable, all you have to do is grab the mirror’s base with your fingers and slide upwards to remove it. Replace the mirror with the same process. This time, you slide downward.
How to Remove Rear View Mirror Mount from Windshield
Now you know how to remove the rear view mirror from the mount, let’s look at how to remove the mounting bracket from the windshield.
Rear view mirror mounts are usually attached to the glass or windshield with adhesives and do not need screwdrivers or wrenches to displace them from your car’s windshield.
Follow the steps below to achieve this removal process.
Step 1: Get a lighter or heat gun because you’ll need to apply a certain level of heat to soften the adhesive. The heat makes the mount come off easily, else you risk damaging the windshield if you try to force it out. Alternatively, you can spray the area around the mount hardware with dish soap or detergent to weaken the adhesive, which is safer than applying heat.
Note: Only remove the mount from the windshield if you are replacing the mirror with a new one that has a new mount bracket. Otherwise, it’s pretty much easy to remove a rear view mirror from the mount bracket attached to the windshield. Simply unscrew it or pull it upwards.
Step 2: Turn on the lighter, heat gun or get your dish soap spray bottle and use it to apply heat or liquid around the mounting bracket on the windshield for a few seconds (60 seconds is ideal). The timing depends on how weak the adhesive gets. While applying the heat gun or lighter, try to shake the mounting base and see if it’s moving out of place.
Step 3: When you can freely move the mirror’s mounting bracket out of the windshield, get a marker, and mark the area covered by the mounting bracket and gently pull it off using a dry towel because it’s hot now.
Step 4: After removing the mounting bracket from the windshield, use a razor blade to scrape off the residue of adhesives and wash it off with a windshield cleaner.
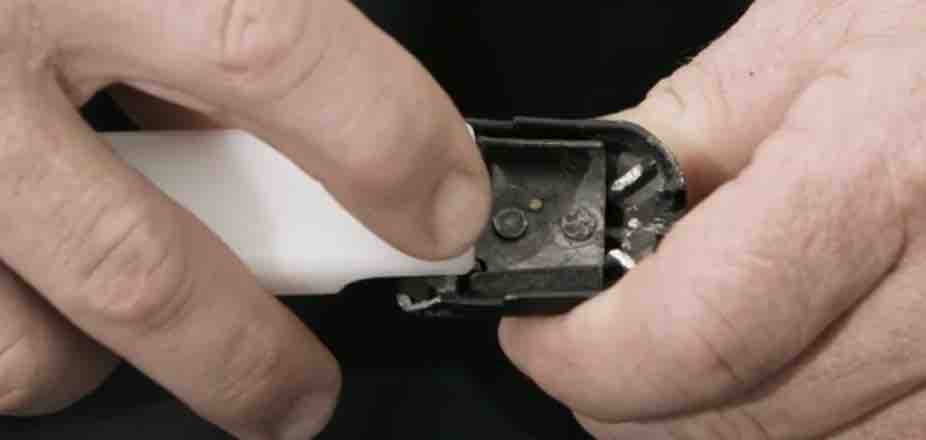
Step 5: Before applying a new mounting hardware, you have to place the new adhesive on the glass in the area you marked and peel off its covering to reveal the raw adhesive.
Step 6: Gently place the new mounting hardware on the adhesive and hold it for about 60 seconds to ensure it stays firmly on the windshield.
Step 7: Get your new rear view mirror and place it on the mounting hardware, either with a screw or just slide it downwards, depending on the mirror type.
So, that’s basically how to get it done, easy and fast, saving you the extra bucks of inviting your mechanic, or the additional hassle of taking it to the auto shop.
Precautions
Here are some precautions when removing and replacing a rear view mirror from the mounting bracket, or removing the mounting bracket from the windshield.
- It’s best to apply heat to a mounting bracket with adhesive when the temperature is around 50-70 degrees Fahrenheit.
- Do not apply excess heat on the adhesive to avoid breaking the glass.
- Be careful when ripping the mounting hardware off the windshield to avoid destroying a part of the glass. You may use a razor or pen knife for this purpose.
- Be cautious when scraping off the remaining adhesive from the windshield to avoid scratching it.
- If your rear view mirror has a complex design or is equipped with Advanced Driver Assisted Systems (ADAS), you may have to call your mechanic to handle the removal.
- Some rear view mirrors are attached to the roof of vehicles, avoid the DIY route with such mirrors and call your mechanic.