Last updated on December 6th, 2022 at 10:30 am
So your headlight is foggy, cloudy or oxidized, in the post I will show you how to clean oxidized headlights with vinegar, toothpaste and baking soda. We also showed you how to clean headlights with wd40 using bot text and video demonstration.
Recall that in the past, this problem of cloudy headlights did not exist until the early ’80s when automobile makers changed from glass that broke easily to plastic fiber or polycarbonate glass.
So, you might ask what the cause of a cloudy headlight is. And the simple answer is that oxidation causes it.
This oxidation happens not because of lack of maintenance by car owners but occurs over a long period of time due to trash from the roads, chemicals from the atmosphere and ultraviolet light.
Furthermore, if your headlights are cloudy, when you drive at night, it reduces your ability to see hence, you must repair them regularly.
Also, read these:
- Best Power Steering Fluid For Your Car
- 7 Best Anti-fog Windshield Treatments & Anti Fog Glasses Cleaner
How To Clean Headlights with WD40, Toothpaste, Baking Soda& Vinegar
The cheery news is that you can repair these oxidized headlights on your own.
In addition, when your headlights of polycarbonate or plastic lens are cloudy it is not usually due to oxidation. At times it may be caused by dust and sand which have gathered on these lenses for a long time to cause the foggy look.
Therefore, my advice to you is to wash the glass thoroughly before you send them to oxidized light repairers. But, after washing them and they still remain hazy, then you can consider any of these three ways of oxidation repairs.
How to Clean Oxidized or Cloudy Headlights
Thera a lot different household stuff you us to clean a cloudy or foggy headlight.
And they include:
- Toothpaste
- Vinegar
- Baking Soda
- WD40 etc.
In this post we are going to focus on the ones list above.
How to clean headlights with vinegar? (Clean headlights with vinegar)
Follow these step to clean headlights with vinegar.
Step 1 – Make a Vinegar Oxidation Cleaning Solution
To do this, get your vinegar and mix it with water. you want mix 3 times the amount of water with 1 part distilled white vinegar. This means you mixing 3 cups of water with 1 cup of vinegar
Aside from using to clean your headlight, this solution also be used to clean your home window glass, and car widows.
Step 2- Pour solution in spray bottle
Pour the solution in spray bottle or container. Now you have to spray the vinegar headlight cleaner solution on your car headlights that is cloudy or foggy. Be sure to spray all angles of the headlight, to fully cover the car headlight with the vinegar solution.
Step 3- Allow it to Sit
After spraying all angles of the headlight, you need to let stay on the headlight for some minutes to let solution soak fully
Step 3- Wipe Cloudy Headlight with a Cloth.
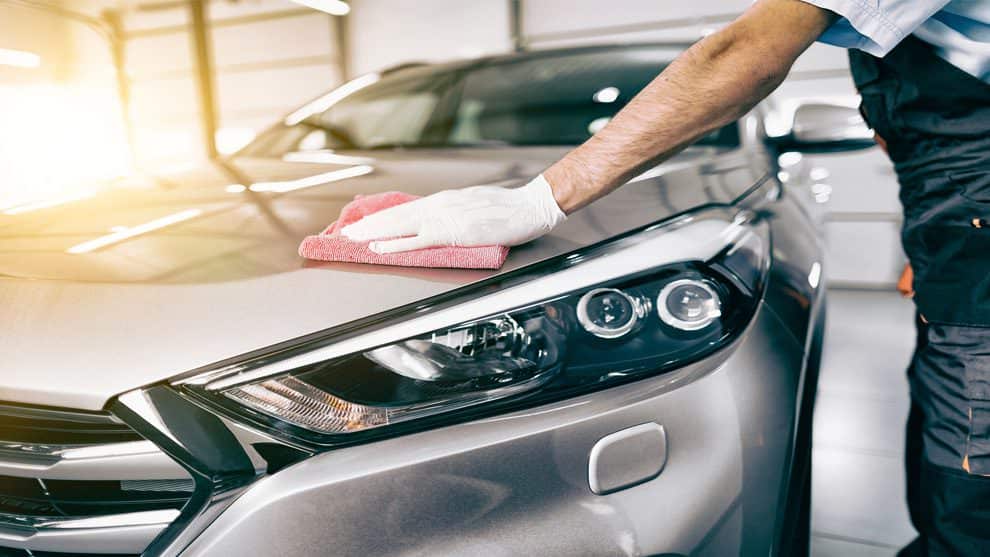
Using a microfiber cloth wipe away dirt from the headlight. Be sure to wipe dry the vinegar solution. This will assistant in removing all the bugs, dirt, and any surface grime present in the headlight.
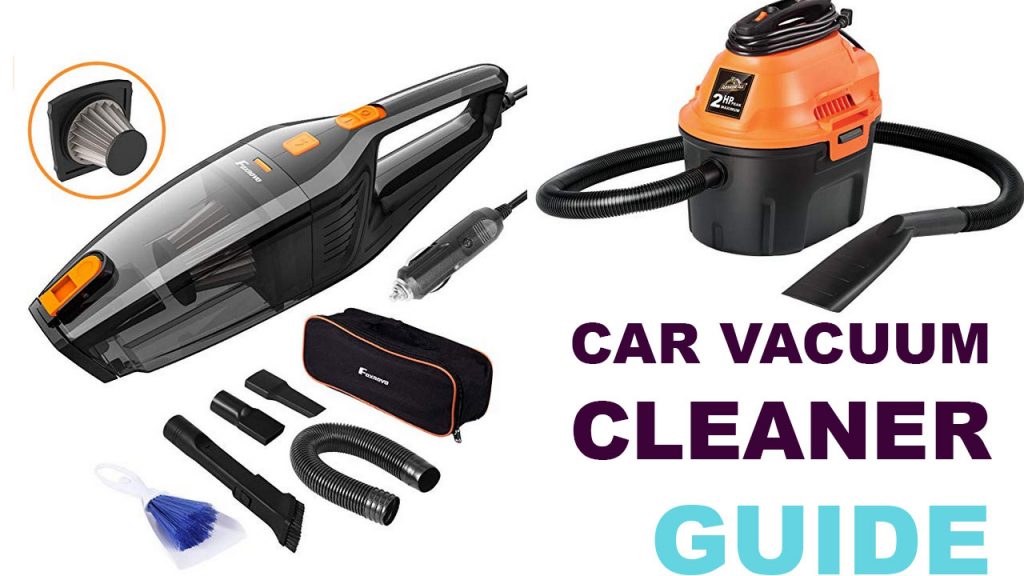
Related Article: 3 Best & portable car vacuum cleaner on Amazon
Best way to clean yellow headlights
So sometime your headlights might still look a little yellow or foggy, even when you clean off the noticeable debris from headlight.
If that your experience, then you have to rather use baking powder and vinegar mixture. This will work better.
You might need to repeat this as many times as your requirement to remove all dirt.
How to clean headlights with vinegar and baking soda
Please watch this video to see how to use vinegar and baking soda to clean your oxidized car headlight
Cleaning headlight lenses with wd40| How to clean headlights with wd40?
This method is a very straight forward approach to cleaning your headlight. What the video above or continue reading.
So what do here is to get your wd40 bottle and spray some the headlight area, then grab a microfiber cloth.
You now want to use the cloth to wipe headlight clean. Sometimes might have to go through this process more than once to take off all the debris and dirt.
You can get wd 40 spray on Amazon. See this one here for cheap.
How to clean oxidized headlights with toothpaste
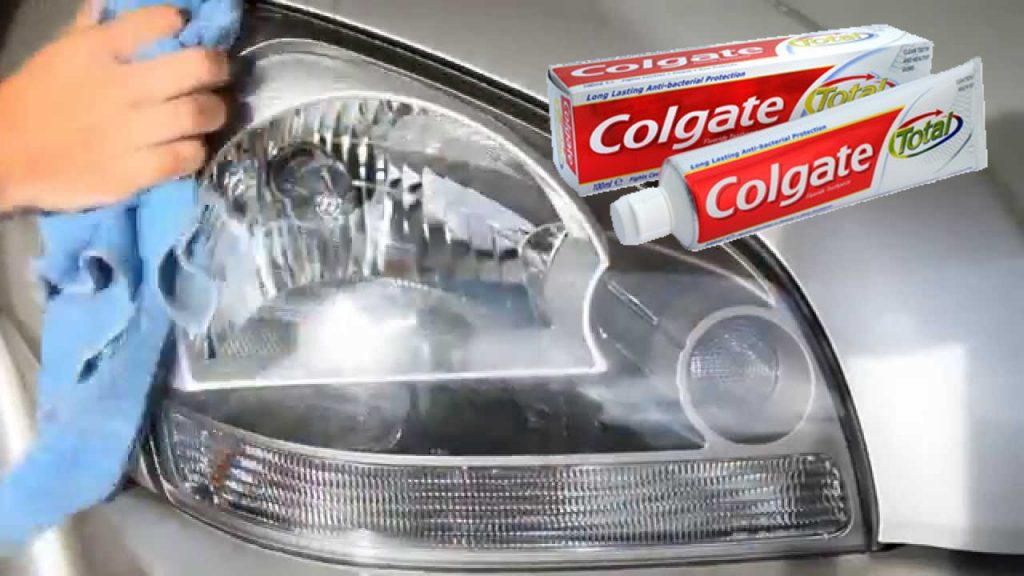
- Assemble the correct materials: If you want to clean your headlights with the toothpaste method, you will need Car wax, Masking tape, and Plastic or vinyl gloves (you can omit this if you have sensitive skin.) Other items are Soft cloth, any kind of toothpaste and water.
- First, use soap to clean: Start the process by washing first with soap and water. Rub the glass using a hard back-and-forth movement with the cloth and then rinse with ordinary water. Next, let it dry for a while and inspect your work on the glass.
- Cover the immediate areas with masking tape: Get a masking tape and use it to cover the areas near your headlights to safeguard them from unintentional scuffing.
- Wear gloves: If you have sensitive skin, put on plastic or vinyl gloves. Next, moisten a clean, piece of soft cloth with water, and add a bit of toothpaste to it.
- Use a piece of cloth with a bit of toothpaste on it: Now, rub the surface of your headlights firmly with the piece of cloth in small circles. Also, add more water or toothpaste to the cloth if you need to and clean the surface of your headlight for up to 5 minutes.
- Wash: After step 5 above, wash the headlight with water and let the air dry it.
- Finally, rub car wax on them: Polish the headlight with car wax to stop dirt or debris from accumulating on them in the future. Just use a neat cloth to apply wax to the lights. Rub each surface using a circular motion and then wash off with water.
Why it works
The way toothpaste cleans your enamel by removing particles and bacteria, that is the same way it works on the surface of your headlight. It cleans unwanted stains off. Also, toothpaste has soft abrasive ingredients that you can use to polish any smooth surface to make it clear and shiny to make your headlights to shine brighter.
cleaning headlight lenses with wd40
Cleaning headlights using glass cleaner and automotive polish
- Assemble the exact working materials: To clean headlights using glass cleaner and automotive polish, get Automotive polish, Car wax (optional), Glass cleaner, Masking tape, Plastic or vinyl gloves (optional for those with sensitive skin), Rotary buffer (optional), Soft cloth and Water.
- Cover the immediate area: Just like the method we used earlier, cover the areas around your headlights to protect the paint job or neat areas, and put on a plastic or vinyl gloves if you have sensitive skin.
- Spray the headlights with the Glass cleaner: Apply plenty on the headlights with glass cleaner. Next, clean the surface using a soft cloth.
How to clean headlights automotive polishing compound
- Use Automotive polish: Add automotive polish to yet another piece of a clean, soft cloth and rub hard on the surface of each headlight using a circular motion. You can add additional polish anytime you need more. Work on each light surface for at least five minutes. However, if you want a faster repair, you can use a revolving buffer to add the polish.
- Wash: Now rinse with water, and apply car wax to protect the light surface from oxidation or damage in the future just like I explained in the earlier method if you wish.
Why it works
This method is easy but highly effective oxidation repair. All you do is to use normal glass cleaner and automotive polish, that you can get easily from your neighborhood auto spare parts shop or general superstores. Why it works is that you use the glass cleaner to prepare the surface and then use the polish having a concentration of abrasive that is stronger than toothpaste to polish the surface of the headlights.
How to clean oxidized headlights using a polishing compound kit
- Assemble the exact materials: Get the following, to begin cleaning headlights using a polishing compound kit: Car wax or kit-included sealant (optional), Cloth, Masking tape, Mild detergent like dish soap or kit-included cleanser, Polishing compound, Sandpaper array (between 600- and 2500-grit), Water.
- Seal off the immediate area with masking tape: Seal the surfaces around your headlights using a masking tape just as we did in Methods 1 and 2 to safeguard them from the harsh compounds in the polish. You can wear a glove if you have sensitive skin.
- Wash and rinse: Add water to moisten a clean cloth, put in a mild detergent or cleanser inside your kit, then bathe your headlights’ surfaces. Next, rinse with clear water.
- Rub compound for polishing: Rub the polishing compound on the surface of your headlights using another piece of clean cloth, in gentle circular motions. Use for about five minutes for each headlight so that the polishing compound will work fully.
- Wet sand your headlights: Get the roughest (having the smallest grit number) sandpaper in cool water and then rub the surface of each headlight hard, back-and-forth. Make sure the sandpaper stays wet throughout. You can dip it in water as required. Do this process many times with different types of sandpaper ranging from the roughest to smoothest grade (and from the smallest to largest grit number).
- Wash: Now, rinse off the polishing compound carefully with clear water.
- Rub car wax: Next, apply car wax using a clean cloth in circular motions on the sealant to protect the surface in the future. Follow this up by washing the surface again as you wish.
Why it works
For thoroughly oxidized headlights, were those earlier methods have failed, you can try using a polishing compound kit for rigorous DIY repair. And you can get these types of kits at auto parts shops.
Additionally, you can buy everything you need to repair oxidized lights and restore them to make them as clear as if they just came out from the factory, online. Furthermore, check the chosen kit to find out if you need extra supplies, by comparing them with the list we gave you earlier in the post.
What to do if the is Droplets of moisture on the inside of headlights
It is common for oxidation to happen inside the headlight and outside, although it occurs more outside. However, if you find tiny droplets of moisture on the inside of your headlights, you must remove them so that the repair will be obvious. Moreover, you can work on the inside the same way you did on the outside. And if these three ways fail to improve the clarity of your headlights, then, get a professional mechanic to help to diagnose the problem
What to Read next: Common Subaru Head Gasket Problems or 11 Best Free VIN Check/Car VIN Number Lookup Free Sites

