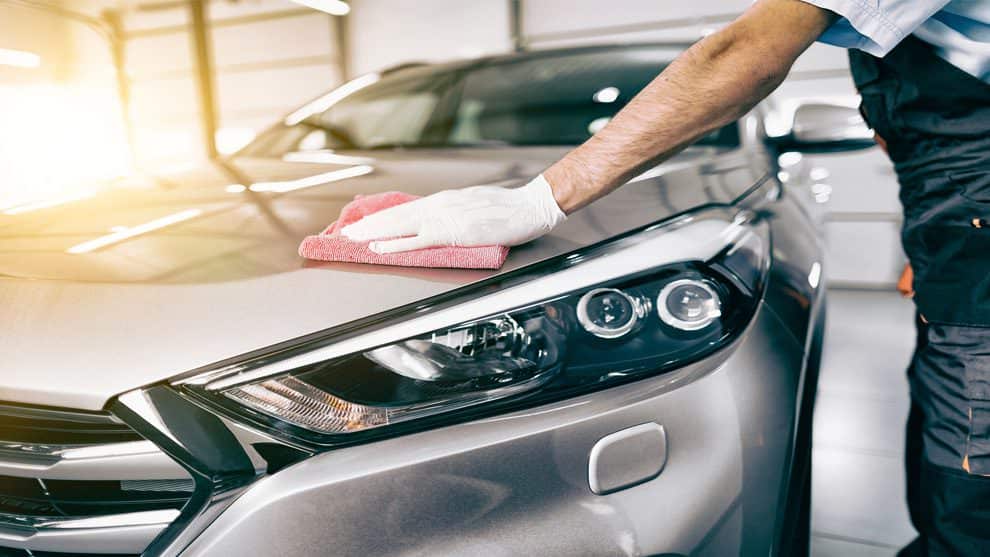
Car detailing secrets and hacks that can help you in achieving a pristine, and quality finish on your car involves a blend of proper techniques, specialized tools, and high-quality products. For those looking to elevate their car cleaning routine, understanding the secrets used by professional car detailers can make all the difference when it comes to how clean and maintained your car will look. Here are 21 essential tips and Car detailing hacks that can help you achieve a professional-grade finish on your vehicle without hiring a professional Car detailer.
Applying the professional car detailing techniques outlined in this article can save you money by reducing the need for frequent professional services. By mastering methods such as the two-bucket wash, using clay bars, and applying high-quality wax, you maintain your vehicle’s new and shiny condition, preventing damage that could lead to expensive repairs on the body. Investing in the right tools and Car detailing products for the first time might seem expensive, but don’t worry, it will surely pay off in the long run, as regular maintenance prolongs the effects of professional detailing, and keeps your car looking newer for longer, and ensures your vehicle’s value is protected and then knocking off the regular cost from Professional car detailing services. so let’s run down our Car detailing checklist below.
Car Detailing Hacks: 21 Professional Car Detailing Secrets and Hack Tips Only the Pros Know
1. Use The Two-Bucket Method
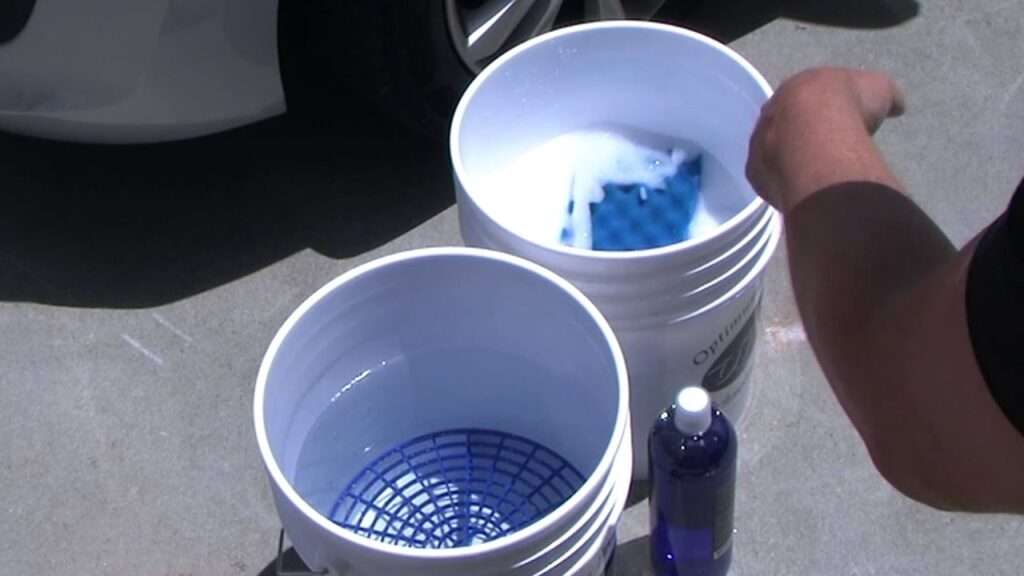
To reduce the risk of scratching your car’s paint, use the two-bucket method. Fill one bucket with soapy water and another with clean water for rinsing your wash mitt. Rinse the mitt in the clean water before dipping it back into the soapy water to keep dirt out of your wash bucket. This technique ensures that dirt and grime are not reintroduced to the paint, which helps maintain a scratch-free surface.
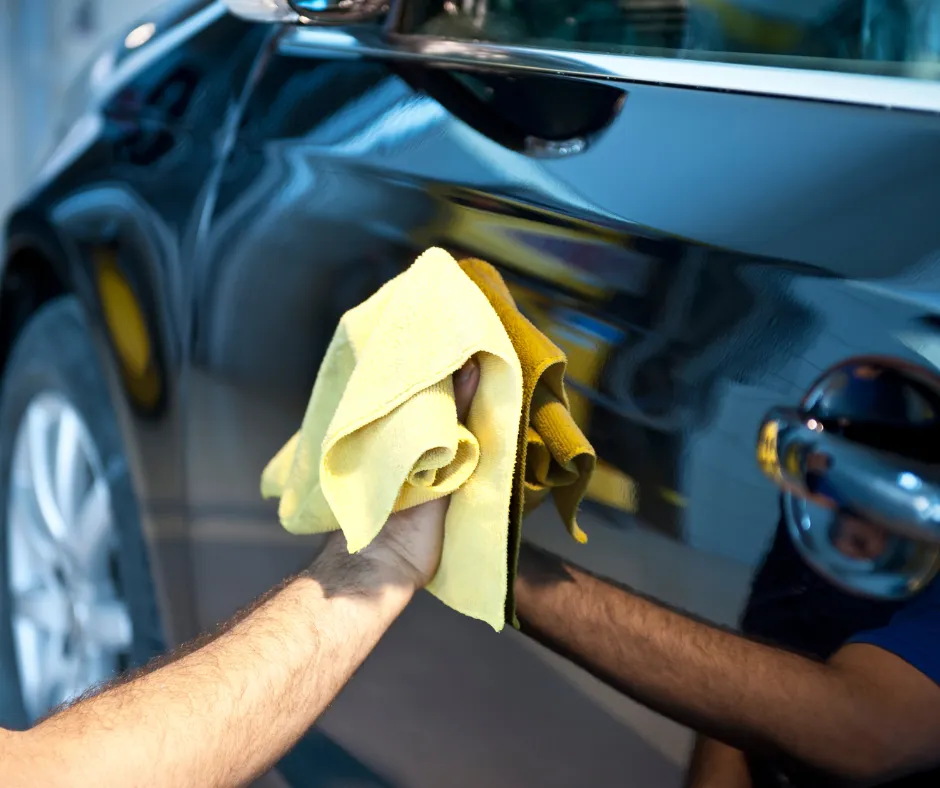
2. Microfiber Towels for Everything
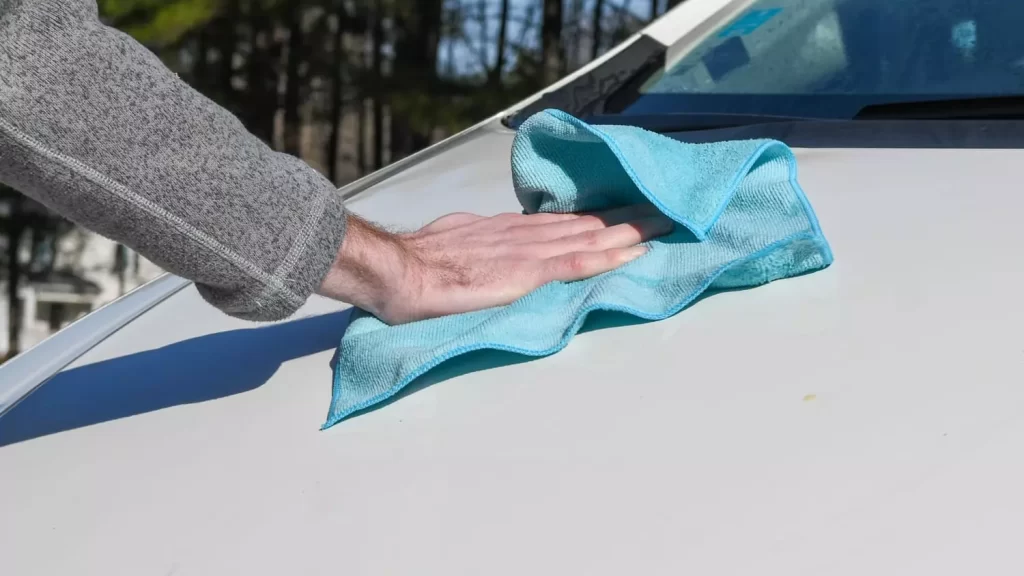
Microfiber towels are highly absorbent and gentle, making them perfect for various detailing tasks. Use different colored towels for specific jobs, such as drying, waxing, and glass cleaning, to avoid cross-contamination. Wash them separately from other laundry to prevent lint buildup. Additionally, always use a clean microfiber towel to avoid scratching the paint with embedded dirt particles.
3. Clay Bar for a Smooth Finish

A clay bar can remove contaminants that washing alone can’t eliminate, like brake dust and tree sap. After washing and drying your car, lubricate a small section with clay lubricant or soapy water, and gently rub the clay bar over the area. This process leaves the paint smooth and ready for polishing. Regular use of a clay bar can help maintain the smoothness and cleanliness of your car’s paint surface.
4. Proper Washing Technique
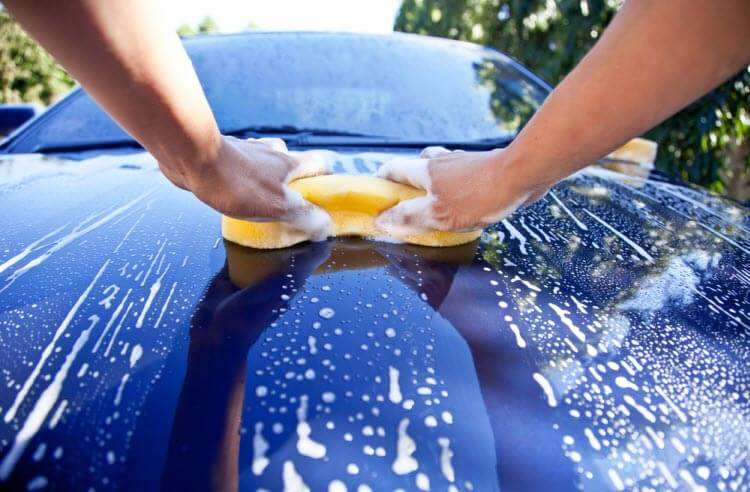
Wash your car from top to bottom to prevent dirt from re-contaminating cleaned areas. Start with the roof, then move to the windows, hood, trunk, and finally the sides and lower panels. This ensures that the dirtiest parts of the car, typically the lower sections, are cleaned last. Use straight-line motions instead of circular ones to minimize the risk of swirl marks.
5. Use the Right Soap

Choose a car-specific soap that is formulated to be gentle on automotive paint while effectively removing dirt. Avoid household detergents as they can strip away wax and damage the paint finish. Follow the manufacturer’s dilution instructions for the best results. Using the right soap will preserve the protective wax layer and maintain the car’s glossy finish.
6. Invest in a Good Foam Cannon
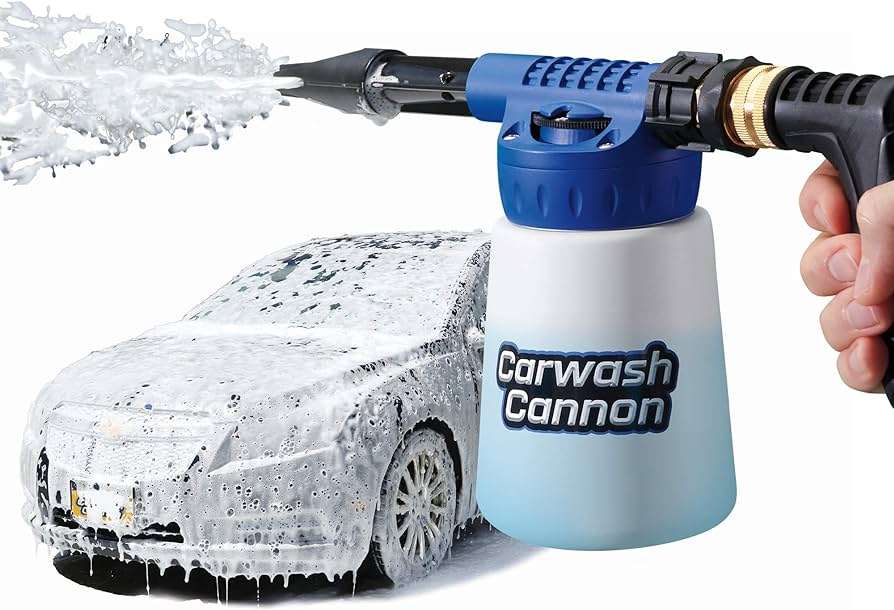
A foam cannon attaches to a pressure washer and sprays thick foam over the car, loosening dirt and grime before you start scrubbing. Fill the foam cannon with a mix of water and car wash soap, adjust it to produce thick foam, and cover the entire car. Let the foam sit for a few minutes before rinsing it off. This pre-wash step can significantly reduce the risk of scratching. You can see this one from this store.
7. Use Grit Guard for Buckets to trap Dirt
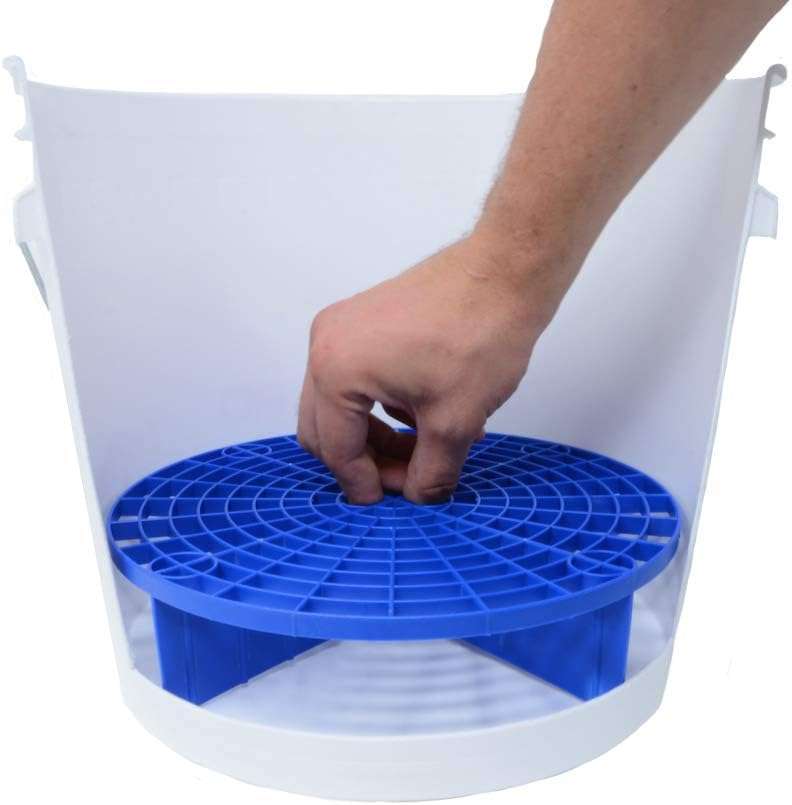
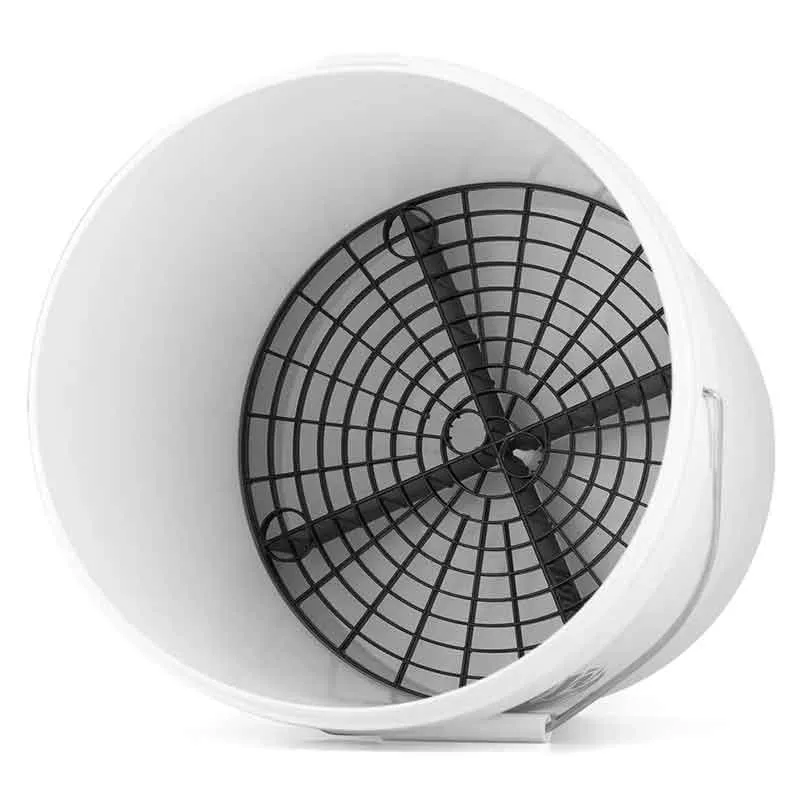
Place a grit guard at the bottom of both your rinse and wash buckets to trap dirt and grit. When you rinse your wash mitt, rub it against the grit guard to dislodge dirt, preventing it from getting back onto the mitt and causing scratches. This simple addition to your bucket setup can greatly enhance the effectiveness of your washing process.
8. Detailing Brushes for Tight Spaces
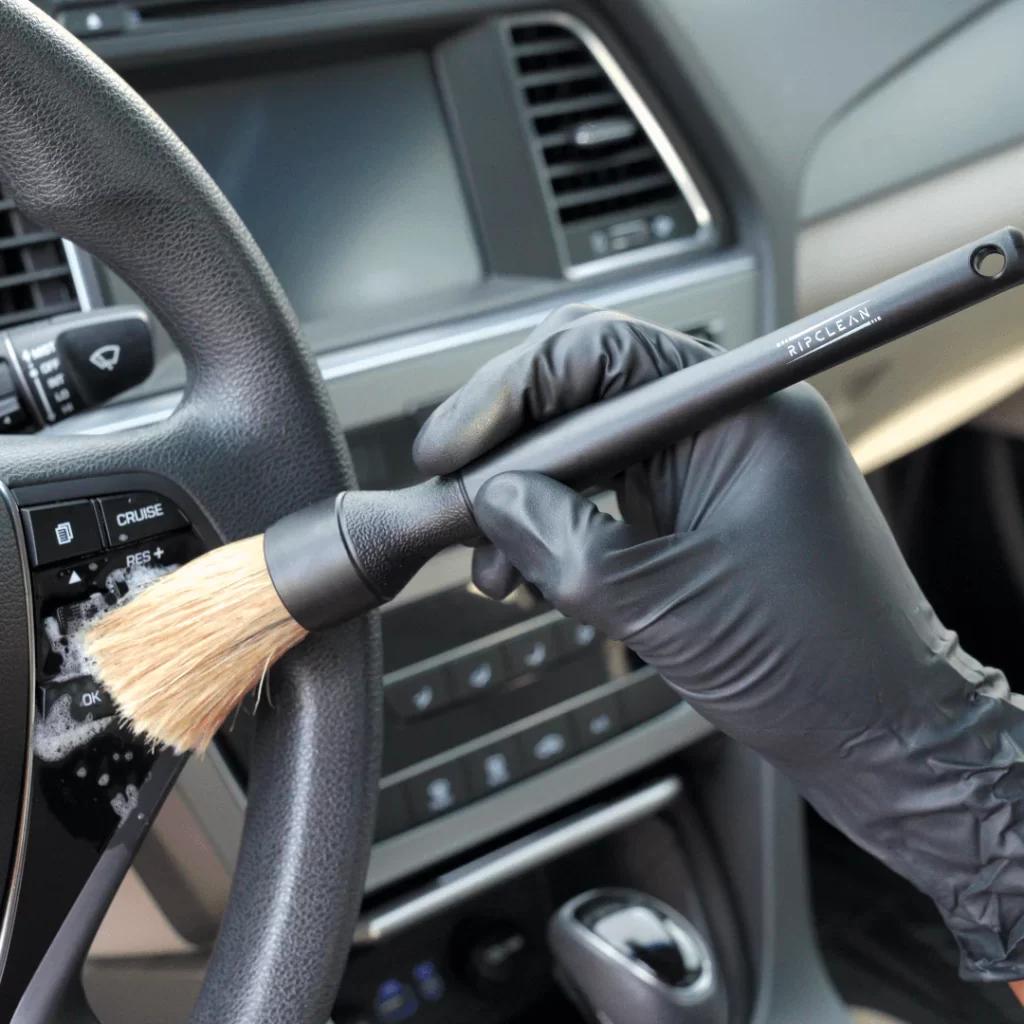
Use soft-bristled detailing brushes to clean intricate areas such as around badges, grilles, and trim pieces. Pair the brush with a mild all-purpose cleaner or soapy water to gently scrub these hard-to-reach spots without damaging the surfaces. Detailing brushes are essential for maintaining a thorough cleaning in areas that are often overlooked. see this one I recommend from this store here.
9. Proper Drying Techniques
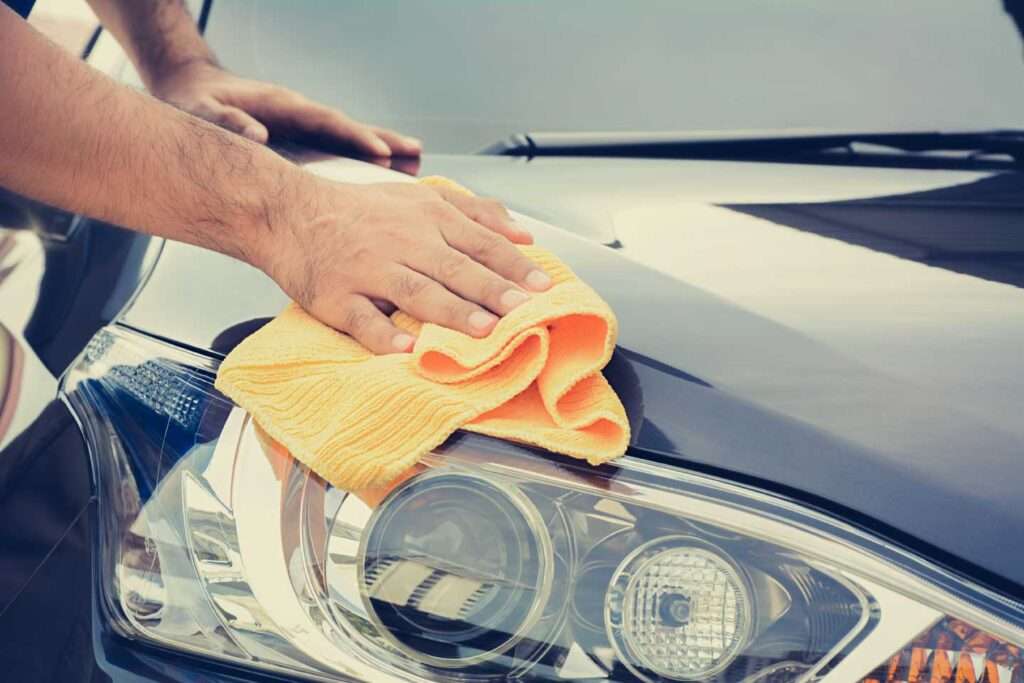
Use microfiber drying towels or a car dryer to remove water without leaving marks or causing scratches. Blot and gently wipe water off the car’s surface with a microfiber towel or use a car dryer or leaf blower to blow off water without physically touching the paint. Proper drying techniques prevent water spots and maintain the car’s clean appearance.
10. Use a High-Quality Wax or Sealant
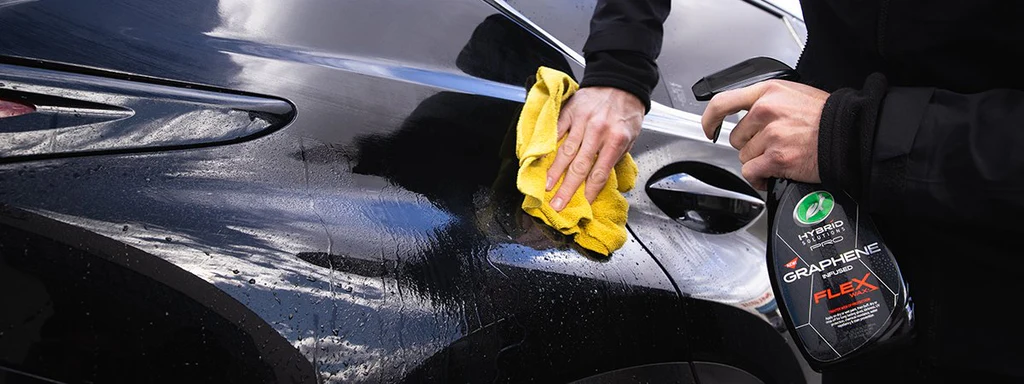
Waxing protects the paint and gives it a glossy finish. Choose a high-quality carnauba wax for a deep shine or a synthetic sealant for longer-lasting protection. Apply a thin, even layer with a foam applicator pad, let it haze, and buff it off with a clean microfiber towel. Wax your car every three months or as needed, and use a sealant every six to twelve months for optimal protection. see some here that you can choose from.
11. Polish for Perfection
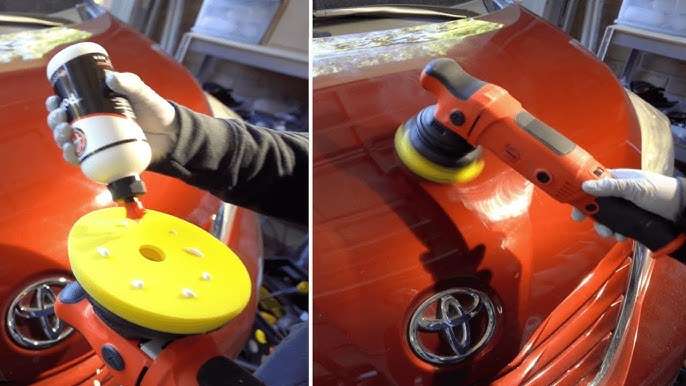
Polishing removes minor imperfections like swirl marks and light scratches, enhancing the paint’s gloss. Use a dual-action polisher with a foam pad and an appropriate polishing compound. Work in small sections with moderate pressure and overlapping passes, then wipe off the residue with a microfiber towel. Polishing should be done as needed, typically once or twice a year. check this article for a guide on choosing the right publisher.
12. Clean Windows Inside and Out
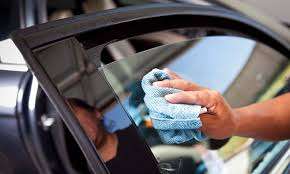
Use an automotive glass cleaner and a microfiber towel to clean windows and this is because clear windows are essential for both aesthetics and safety. Spray the cleaner on the towel rather than directly on the glass to avoid overspray. Clean the exterior windows first, then move to the interior. For streak-free results, finish by buffing with a clean, dry microfiber towel.
13. Treating Leather seat with Care
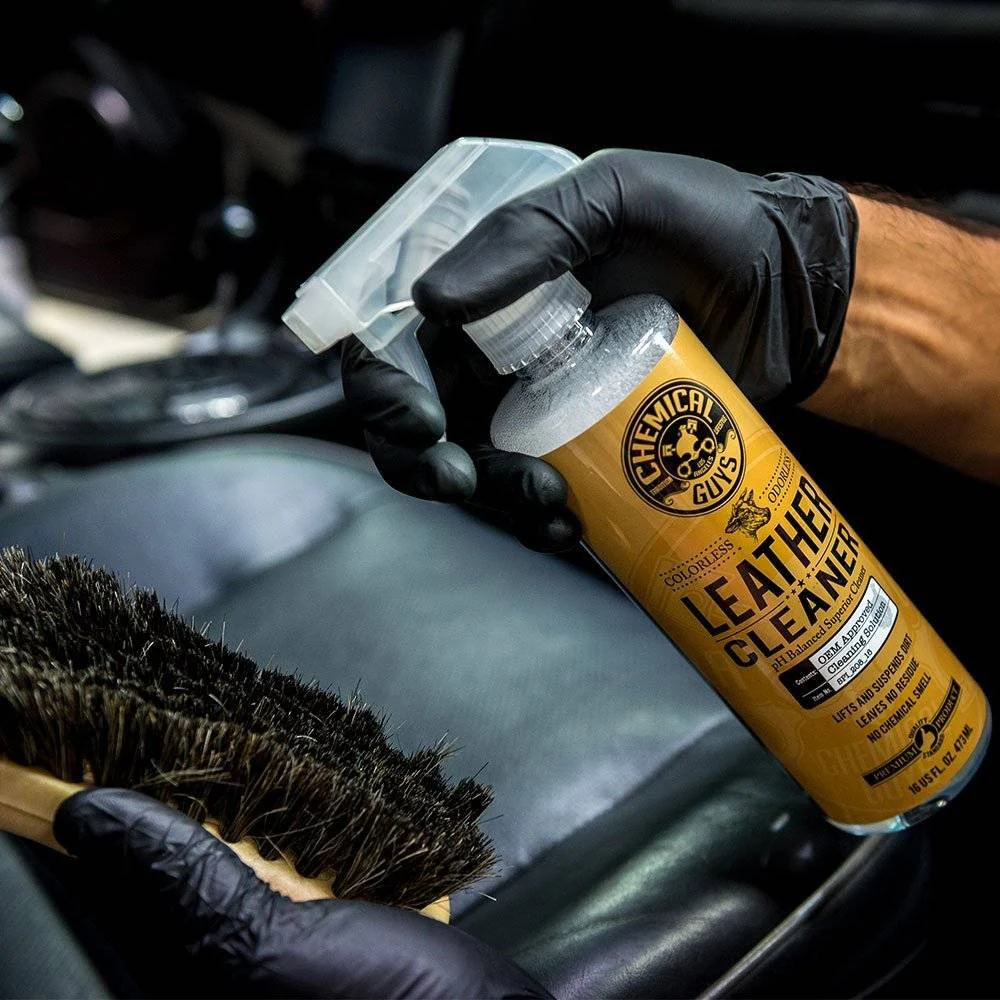
Leather seats require special attention to keep them supple and prevent cracking. Use a pH-balanced leather cleaner and conditioner. Apply the cleaner with a soft brush or microfiber cloth, gently scrubbing to remove dirt, then wipe off the cleaner with a damp cloth. After cleaning, apply a leather conditioner to keep the leather moisturized and protected. Regular treatment every three to six months will keep the leather in top condition.
14. Steam Cleaning for Interiors
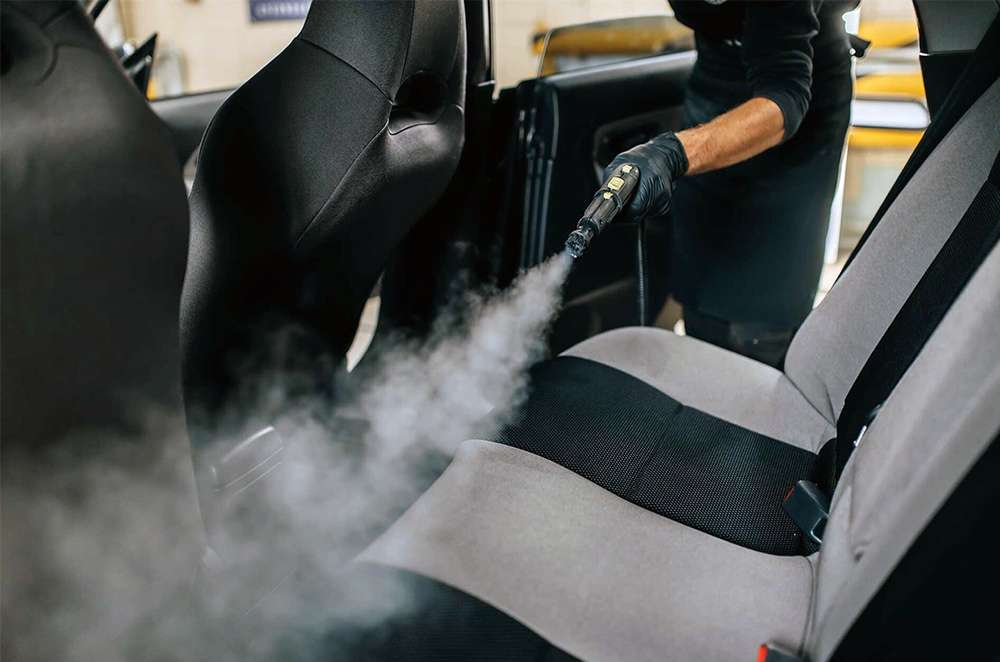
Steam cleaning is an effective, chemical-free way to clean and sanitize interior surfaces. Use a steam cleaner on upholstery, carpets, and hard surfaces. The high temperature breaks down grime and kills bacteria. Hold the steam cleaner a few inches away from the surface and use short bursts of steam, then wipe away loosened dirt with a microfiber cloth. Steam cleaning is especially useful for deep cleaning and sanitizing.
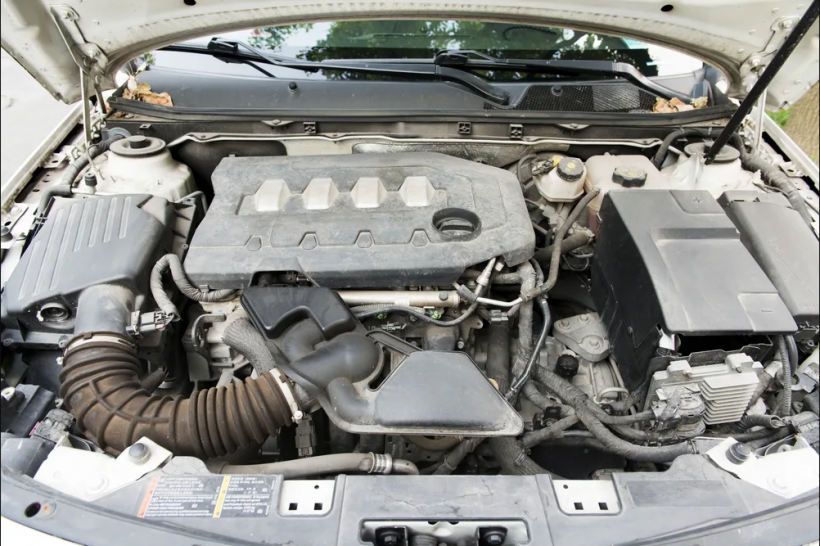
15. Detail the Engine Bay
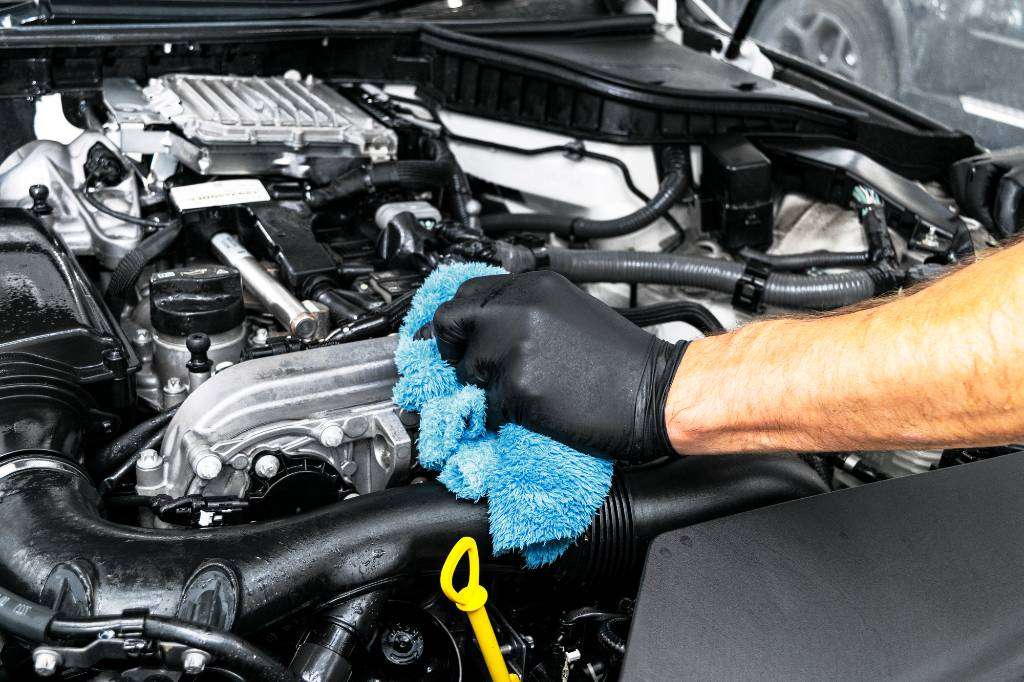
A clean engine bay looks impressive and helps with the longevity of engine components. Cover sensitive areas like the alternator and air intake with plastic bags. Use a degreaser and a detailing brush to clean the engine components, rinse carefully with a low-pressure hose, and avoid direct water on electrical parts. After drying, apply a rubber and vinyl protectant to hoses and plastic components.
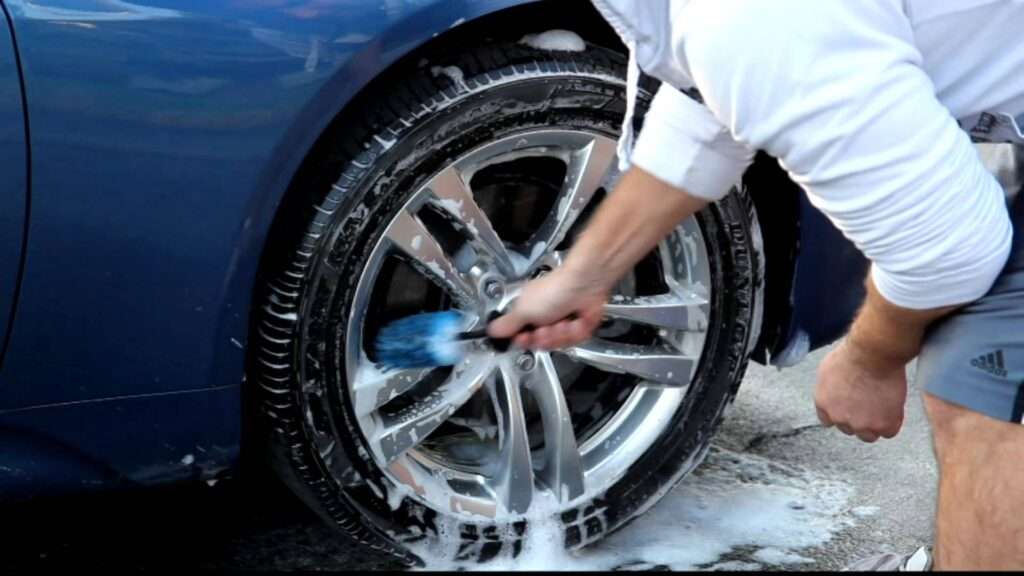
16. Proper Tire and Wheel Cleaning
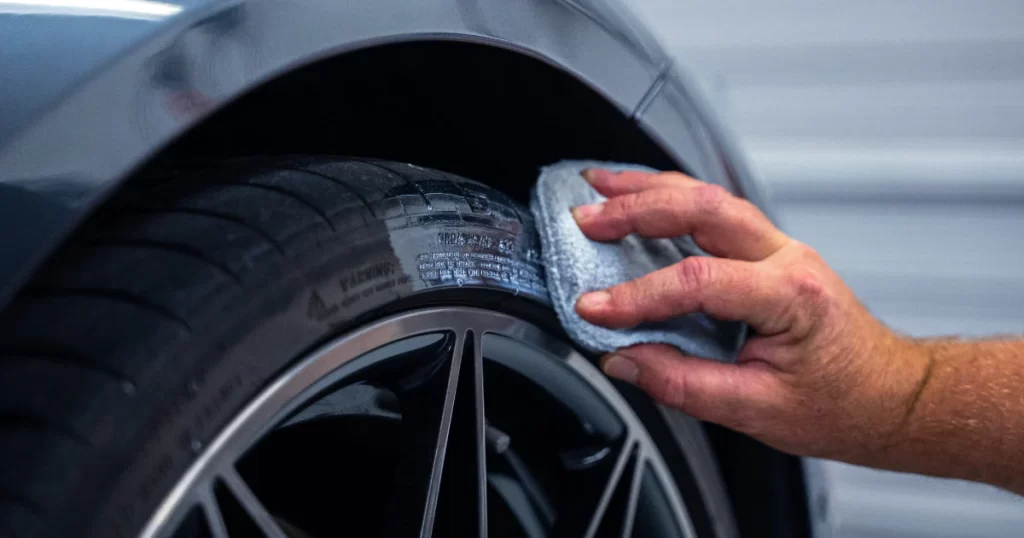
Tires and wheels require specific cleaning products to remove brake dust and road grime. Use an acid-free wheel cleaner and a wheel brush to clean the wheels. Spray the cleaner on and let it sit for a few minutes, then scrub with the brush and rinse. For tires, use a tire cleaner and a stiff brush to remove dirt and old tire dressing, then apply a tire dressing to keep them looking fresh and prevent cracking.
17. Don’t Forget the Wheel Wells
Wheel wells can harbor a lot of dirt and grime, impacting the overall appearance of the car and that is why professional detailing services use an all-purpose cleaner and a pressure washer to clean wheel wells that way it brings back the shine. Spray the cleaner liberally and let it sit for a few minutes, scrub with a stiff brush if necessary, then rinse thoroughly. Clean wheel wells improve the overall look of the car, especially if you dress the plastic liners with a protectant.
18. Headlight Restoration
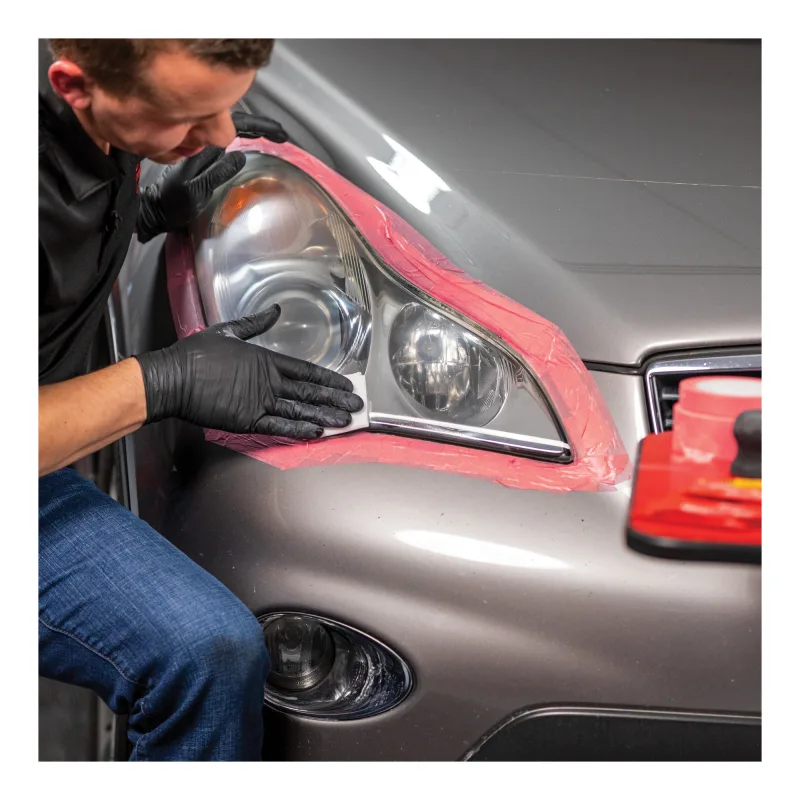
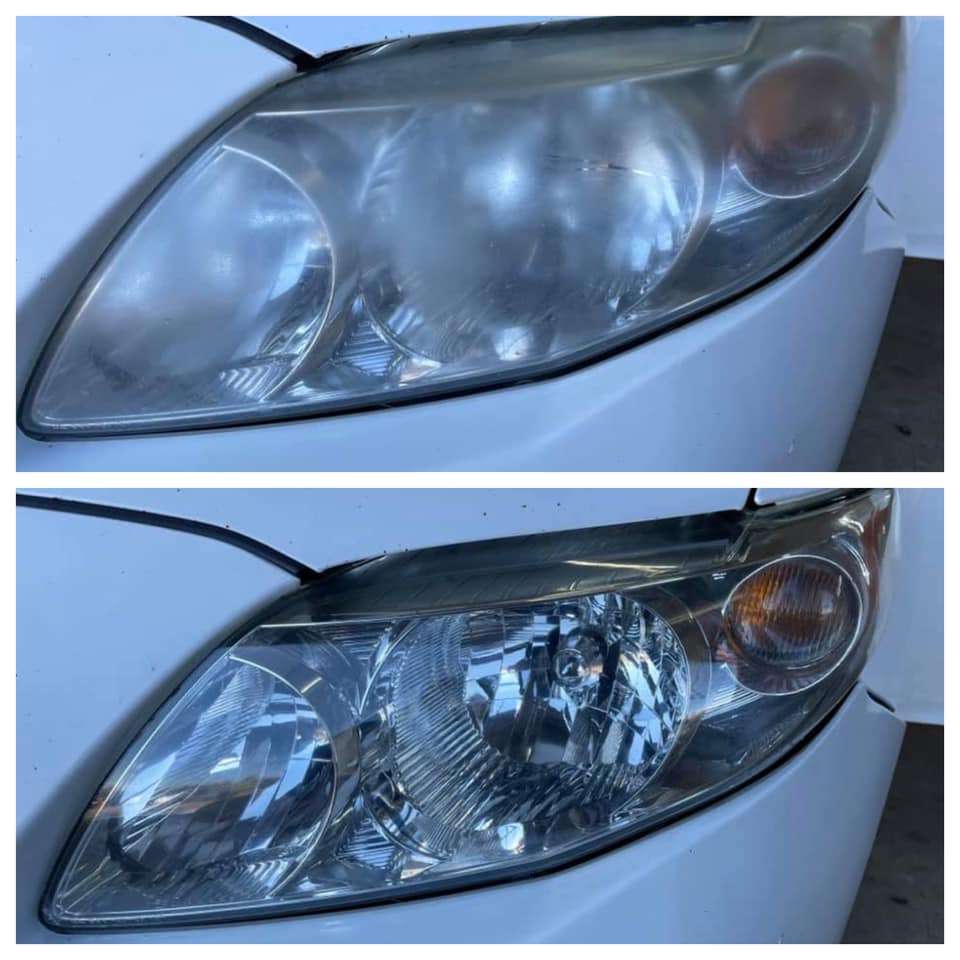
Cloudy headlights can diminish the appearance of your car and reduce nighttime visibility. Use a headlight restoration kit that includes sanding pads, a polishing compound, and a UV sealant. Start with the coarsest pad and sand the headlights in a circular motion, then move to finer pads. Apply the polishing compound to restore clarity, and finish with a UV sealant to protect against future oxidation.
19. Use Interior Protectants

Protectants keep interior surfaces looking fresh and prevent fading or cracking. Apply a protectant to dashboards, door panels, and other plastic or vinyl surfaces. Use a microfiber applicator to spread the product evenly and buff off any excess with a clean towel. Choose a protectant with UV inhibitors to protect against sun damage and keep surfaces dust-free longer.
20. ozone generators for Odor Elimination
Stubborn odors can be neutralized using ozone generators or specialized odor eliminators. For deep-seated odors, use an ozone generator, which produces ozone to neutralize odor-causing molecules. Run the generator in the car with the windows closed for 30-60 minutes, then ventilate the car thoroughly. For surface odors, use an enzymatic cleaner designed for automotive use. Spray the cleaner on the affected areas and let it sit for a few minutes before wiping clean.
21. Regular Maintenance is Key
Keeping a car looking its best requires regular maintenance, not just occasional deep cleaning. Develop a routine that includes washing your car every one to two weeks, waxing every two to three months, and performing a full detail twice a year. Regularly cleaning the interior, vacuuming carpets and upholstery, and wiping down surfaces with consistent care will keep your car looking new and make each detailing session easier and more effective.
Conclusion
there you have our Car detailing checklist with Car detailing secrets by incorporating these professional Car detailing hacks into your car care routine, you can achieve a level of cleanliness, prestineness, and shine to your vehicle that rivals of a professional detailer. Remember, the key to a pristine vehicle is not just about the initial detailing but maintaining that level of care regularly. Happy detailing!