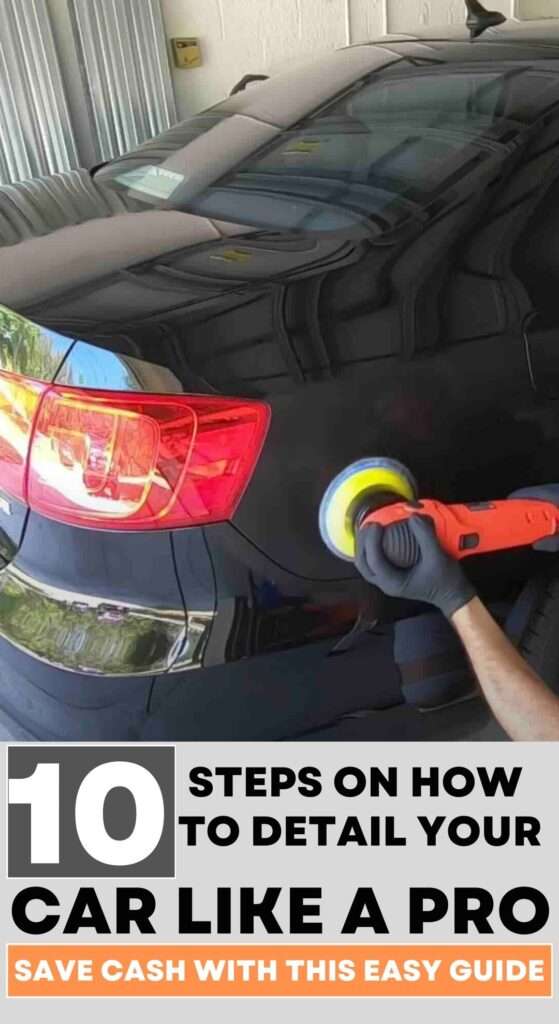
How to detail your car like a professional: Detailing your car like a professional detailer would involve a thorough cleaning and protection process for, both the inside and outside of the car. Paying attention to all the little details and corners of the vehicle.
This guide on how to detail your car interior like a pro will walk you through the steps and products needed to
You will agree that detailing your car is more than just a wash and vacuuming can clean. Rather detailing involves a lot more paying attention to both major and tinny work and details of the while cleaning the car.
All are aimed at restoring and protecting your vehicle’s surfaces to maintain its appearance and value.
It doesn’t matter what the occasion is, it could be that you’re preparing to attend a special event with your car or you simply want to keep your car in top condition at all times, which for me is the way to go.
Following the steps laid out in the guide will help you achieve professionally-looking results for your vehicle.
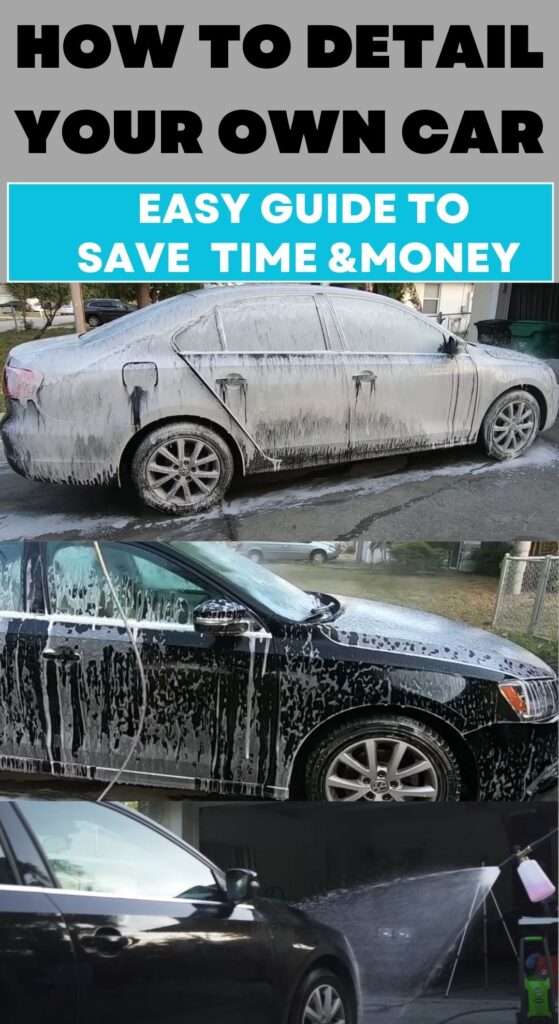
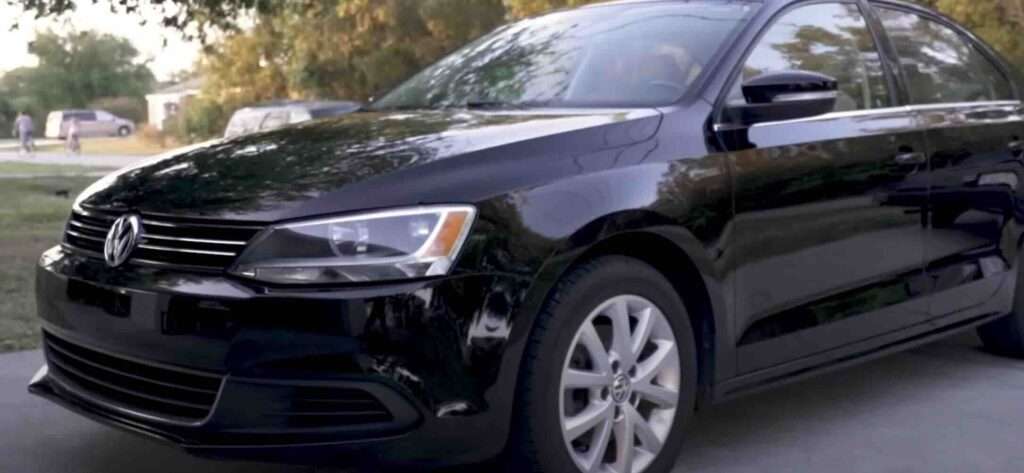
Now for this guide working with a black Volkswagen, you can achieve the same result following this guide on any vehicle.
Related Article: 21 Professional Car Detailing Secrets and Hack Only the Pros Know
Safe Steps on how to detail your car like a pro.
Whenever you want to do detail work you have to first make sure the car you want to detail is packed in an open and well-ventilated space.
This is necessary because contains strong chemicals that will produce dangerous fumes and can affect your health or even your breathing if you don’t so he you have your car parked in a ventilated place or even an open space outside.
Secondly, you have to be mindful of how you make use of water around electrical parts otherwise you could get a short circuit when they mistakenly get wet. To prevent this, disconnect any batteries or wiring before you begin washing.
A short circuit occurs when an electrical current takes an unintended path, usually due to water or other conductive materials creating a direct connection between two points. This can cause excessive current flow, leading to overheating, damage, or even fire.
When detailing your car, you have to avoid getting the following parts wet by all means to avoid short circuits which can cause permanent damage to multiple parts at the same time:
- Battery
- Fuse Box
- Alternator
- ECU (Engine Control Unit)
- Wiring Harnesses:
- Ignition System: Spark plugs, ignition coils, and related parts can fail when inconstant with water.
- Sensors: Various sensors (e.g., oxygen sensors, MAF sensors) can short out if water enters their connectors.
Lastly, have to always read the labels on the particular products you choose to use and that is because some chemicals can damage paint or upholstery if not used properly
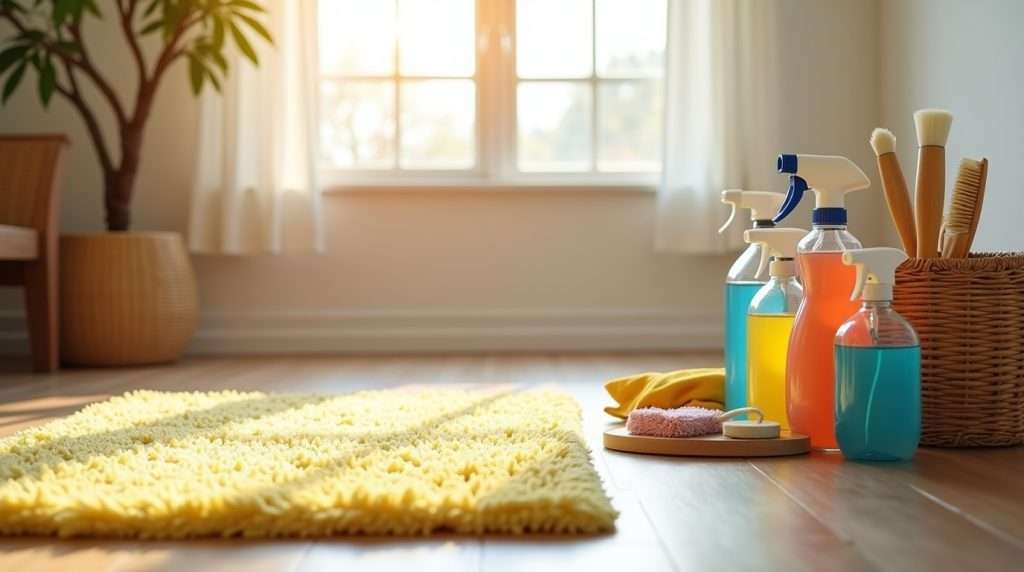
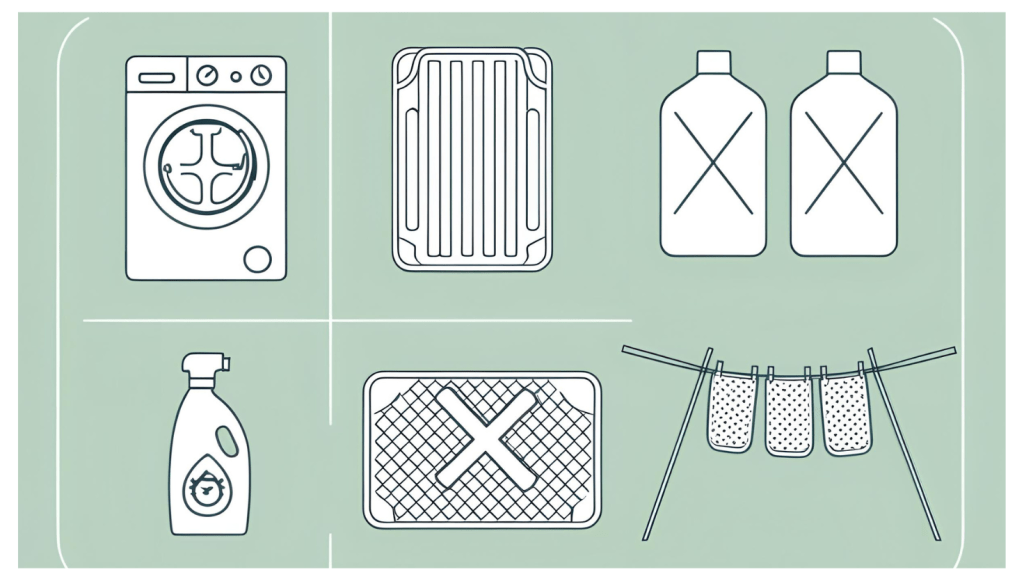
Gather the Products and Tools you will need
Before you begin, make sure you have all the necessary tools and products:
- Electric Power Washer: I recommended at least up to 1600 PSI
- Foam Cannon: For pre-washing
- Wheel Cleaner and Foam Sprayer
- Separate Wheel Wash Bucket
- Two Buckets: One for washing and the other one for rinsing.
- Microfiber Wash Mitt and Applicator pad
- Detail Brushes
- Clay Bar and Lubricant (e.g., Quick Detailer)
- Iron Remover (e.g., Iron X by Car Pro)
- DA Polisher: With microfiber cutting discs and polishing pads
- Compounds and Polishes
- Isopropyl Alcohol (IPA) and Water Mixture: do a 50/50 mix for both of them
- Ceramic Coating Kit: get one that has a coating, applicator, buffing towel, and gloves. See this one here.
How to detail your own car like Pro
When you’ve got all the materials needed here are the steps to how to detail your own car-like pro effectively.
First, we are going to look at how to detail a car exterior like a pro and later talk about how to detail your car interior like a pro. So lets get right onto it.
How to detail a car exterior like a pro
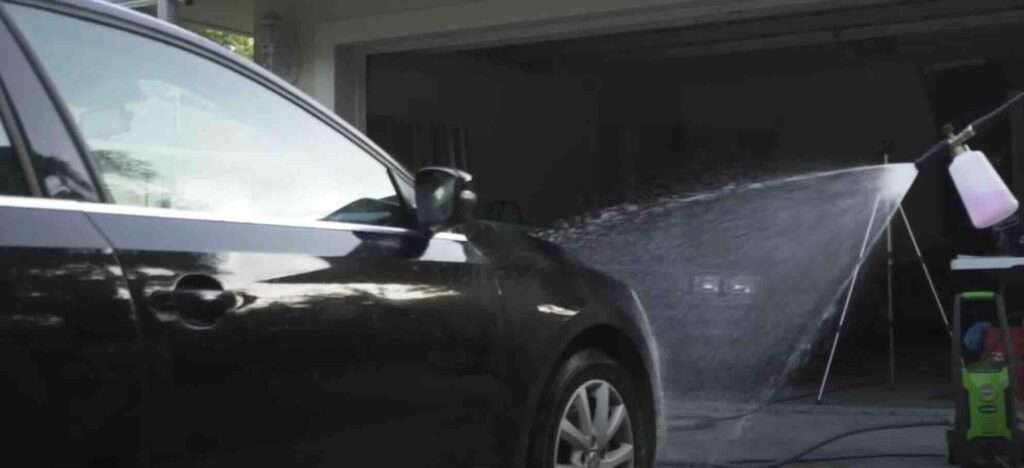
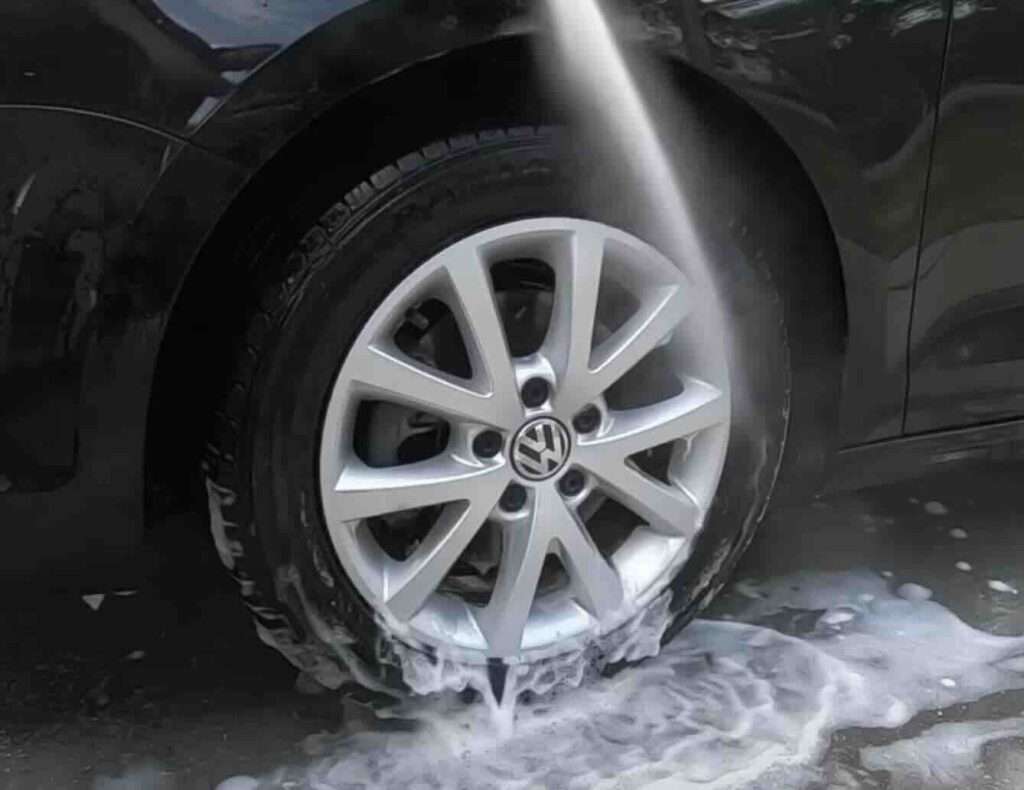
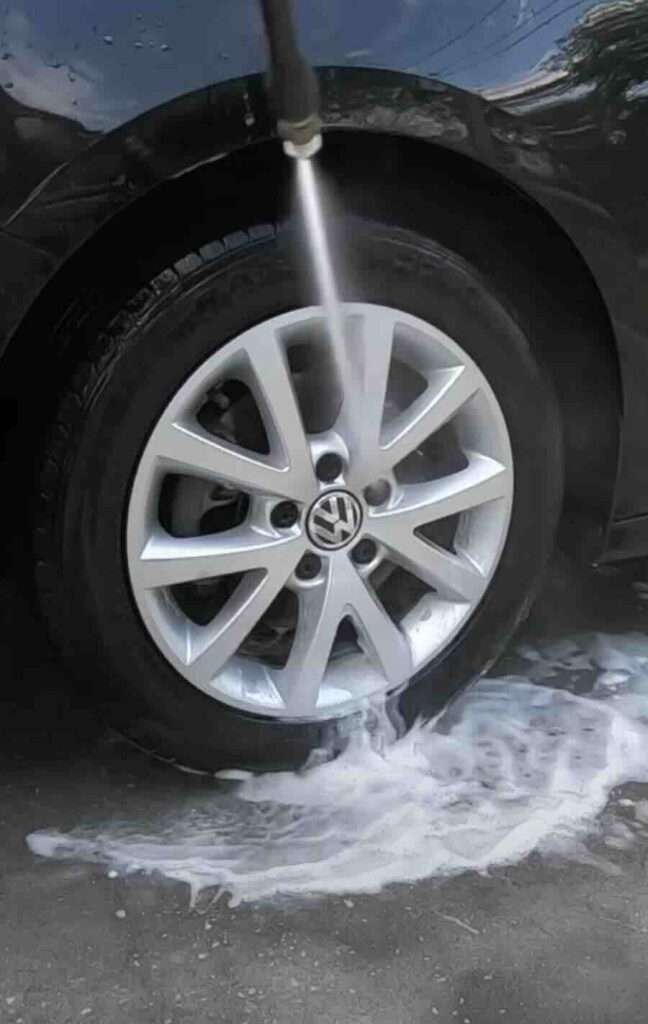
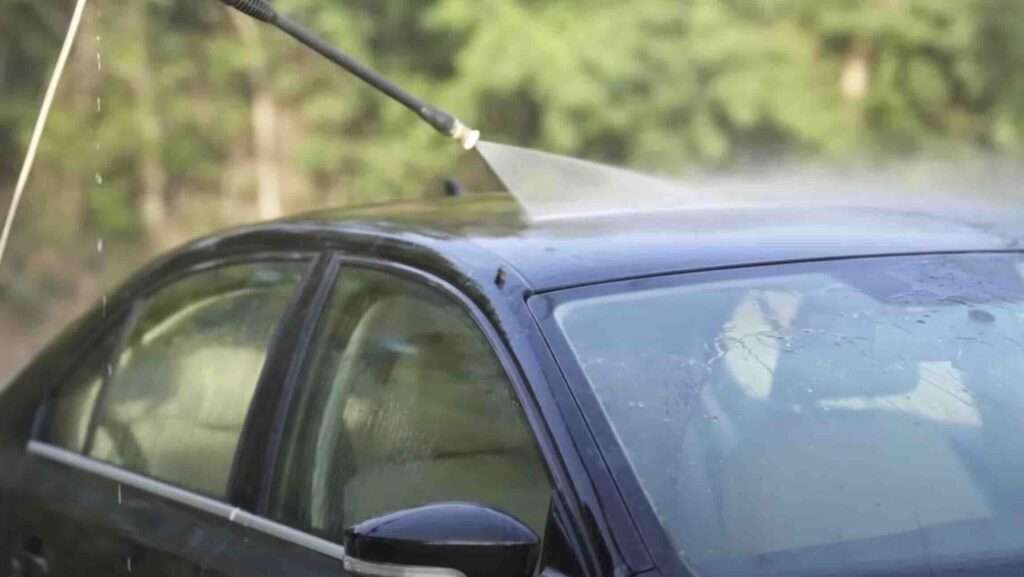
Step1: Rinsing the Car
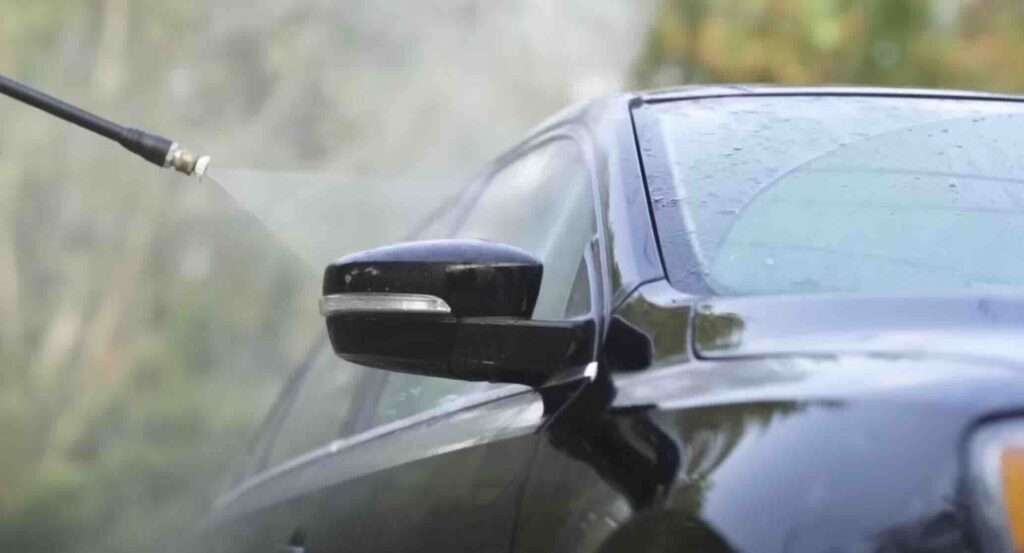
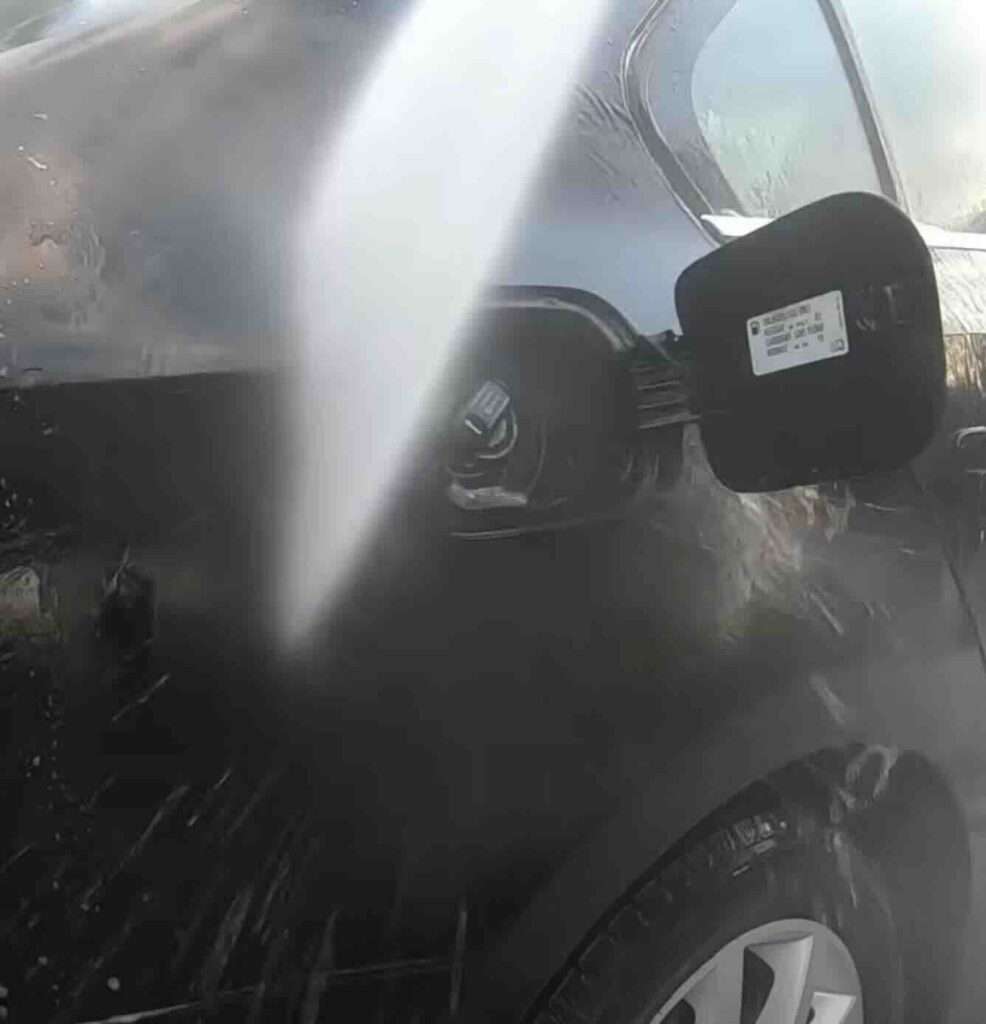
Start by rinsing your car to remove the loose and surface-level dirt and debris from the car.
For this, you can use an electric power washer you got and set it to around 1600 PSI or higher. You have to be careful around the car paint chips to avoid lifting the paint.
Step 2: Attach Foam Cannon Pre-Wash
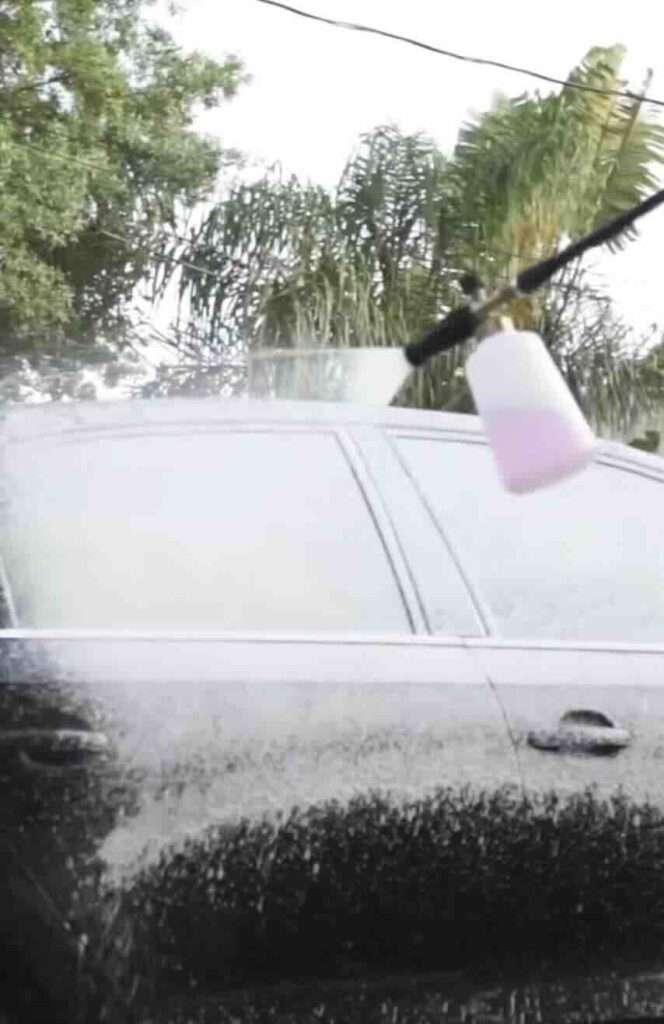
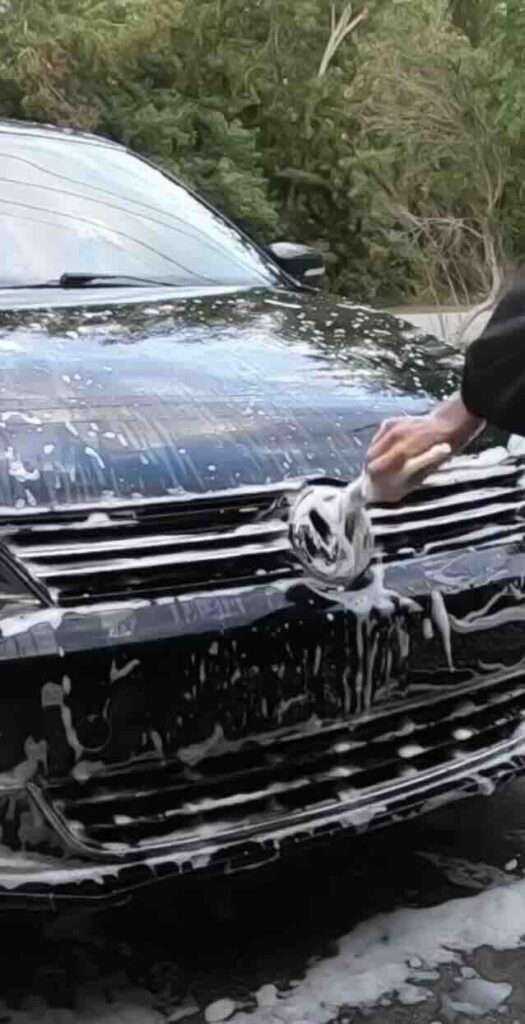
When done with the initial rinsing, attach a foam cannon to your power washer and apply a layer of foam to the car.

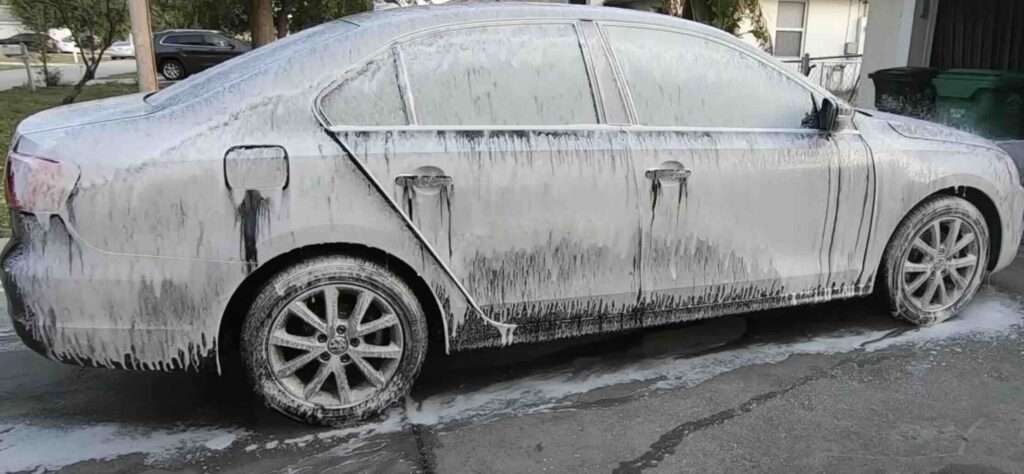

Applying a layer of foam to the car helps to loosen dirt even more and makes the hand wash easier. After applying the foam, and the entire car is covered with foam, it is time to rinse the car again for the second time.
Step 3: Cleaning the Wheels
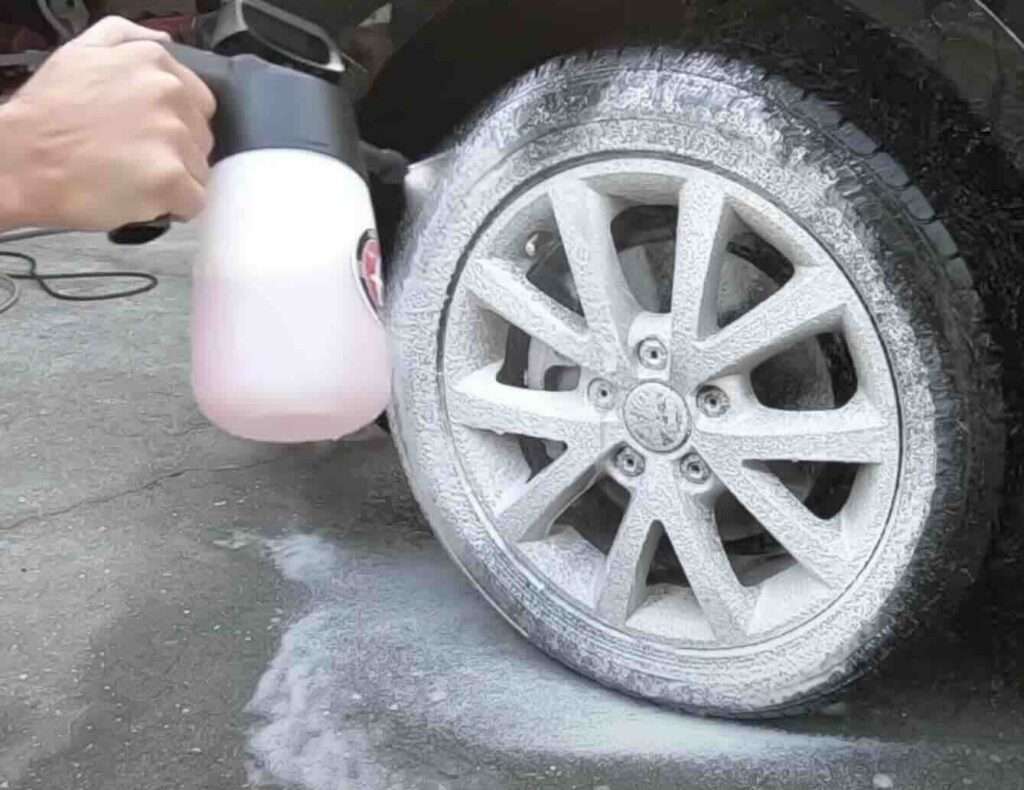
Wheels often accumulate a lot of brake dust and grime. So it is recommended you always start with the wheels first. Doing the you start by soaking the wheels with a wheel cleaner in a foam sprayer bottle. Then I use a separate wheel wash bucket that includes:
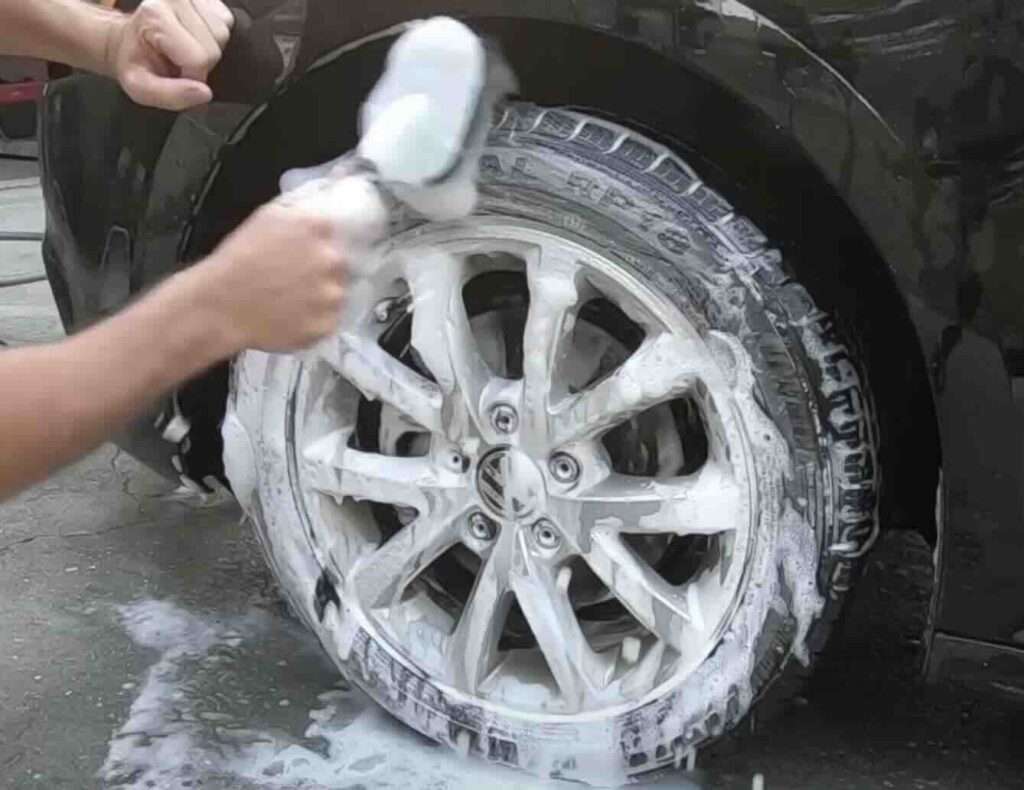

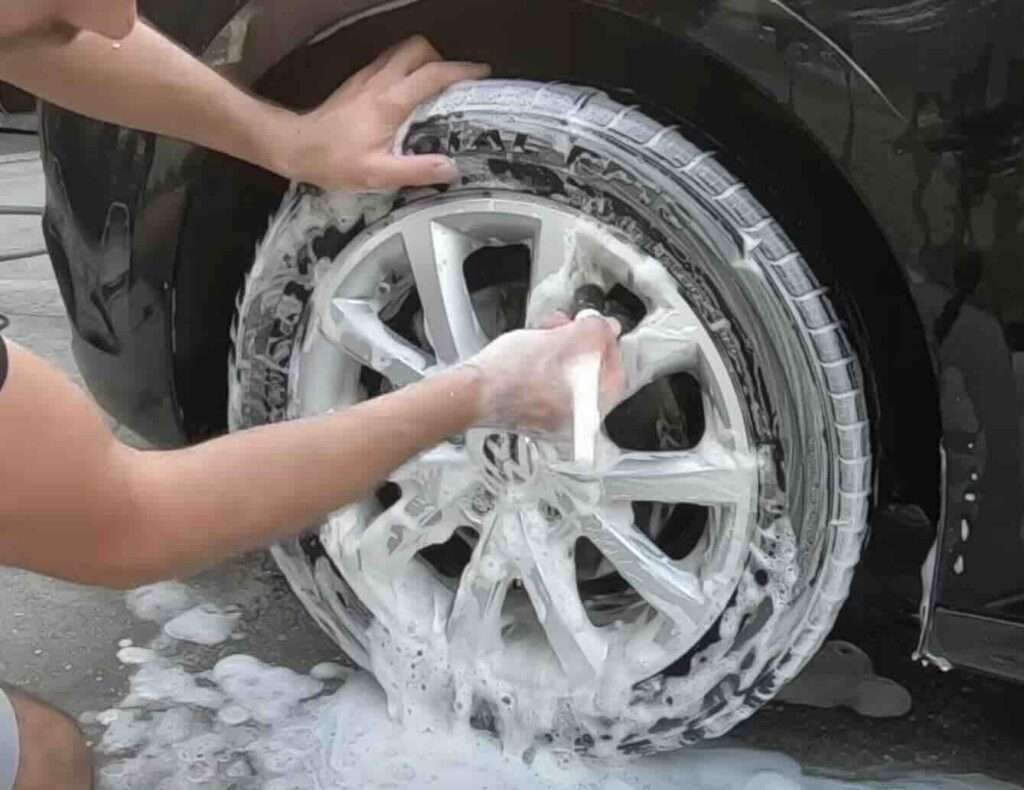
- A brush for the tires
- A mitt for the wheels
- A tinny detailing brush for those hard-to-reach areas of the wheel
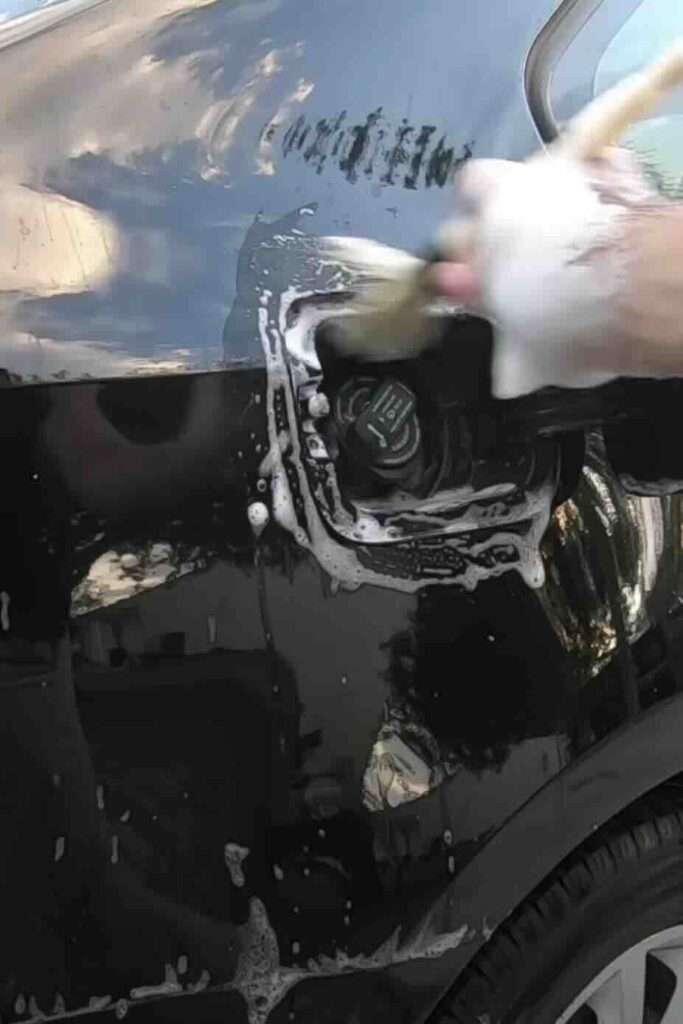
Step 4: Two Bucket Method Hand Wash
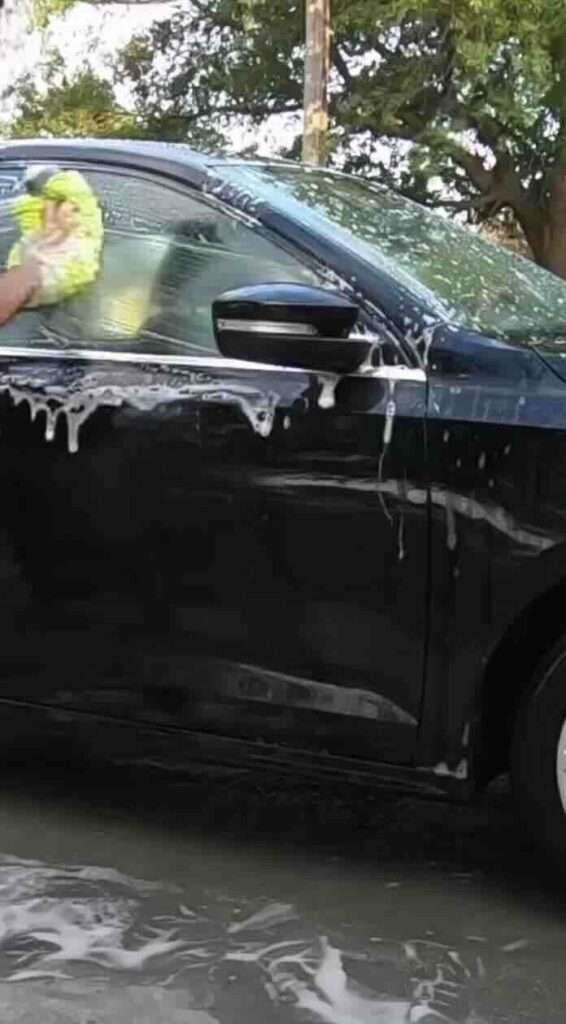
Use the two-bucket method to wash your car we discussed this method fully in this article. Basically, it involves having 2 buckets in place where; One bucket contains the rinsing water for your wash mitt, and the second bucket contains soapy water for the initial wash.
This method helps prevent dirt from being re-applied to the car, reducing the risk of scratches.
- Rinse Bucket: Contains clean water for rinsing the wash mitt.
- Wash Bucket: Contains car wash soap.
Start washing from the top of the car and work your way down, rinsing the mitt frequently.
Wash Using the Two Bucket Method:
- Dip and Soap: Dip your microfiber wash mitt or cloth into the wash bucket with the soapy water.
- Wash a Section: Starting from the top of the car and working your way down, wash a small section of the car using gentle, straight-line motions. Avoid circular motions to prevent swirl marks.
- Rinse Mitt: After washing a section, dip the mitt or cloth into the rinse bucket to remove dirt and debris. Rub it against the grit guard if you’re using one to help release the grime.
- Reload with Soap: Wring out the mitt or cloth, then dip it back into the wash bucket to reload with soapy water.
- Repeat: Continue this process, working on one section at a time, rinsing the mitt in the rinse bucket and reloading with soap frequently.
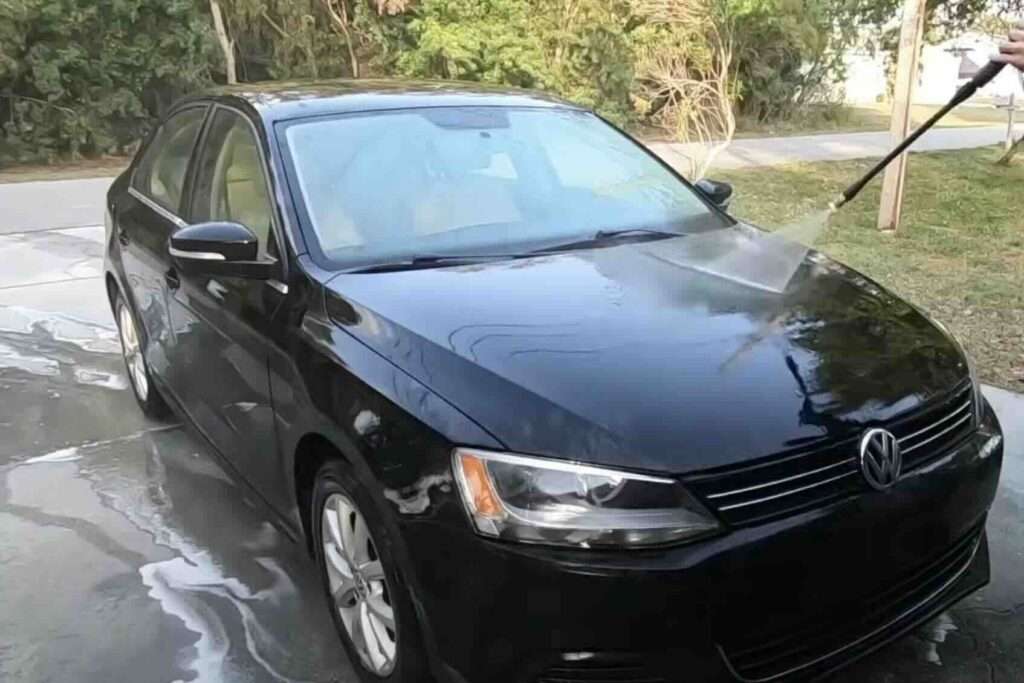
Final Rinse:
- Once the entire car is washed, give it a thorough rinse with clean water, ensuring all soap is removed.
· Dry Your Car:
- Use clean, dry microfiber towels or a drying cloth to gently dry the car. Pat and blot the surface rather than wiping to avoid any potential scratching.
You Can also watch this video if prefer a video tutorial guide style:
How to detail your own car interior
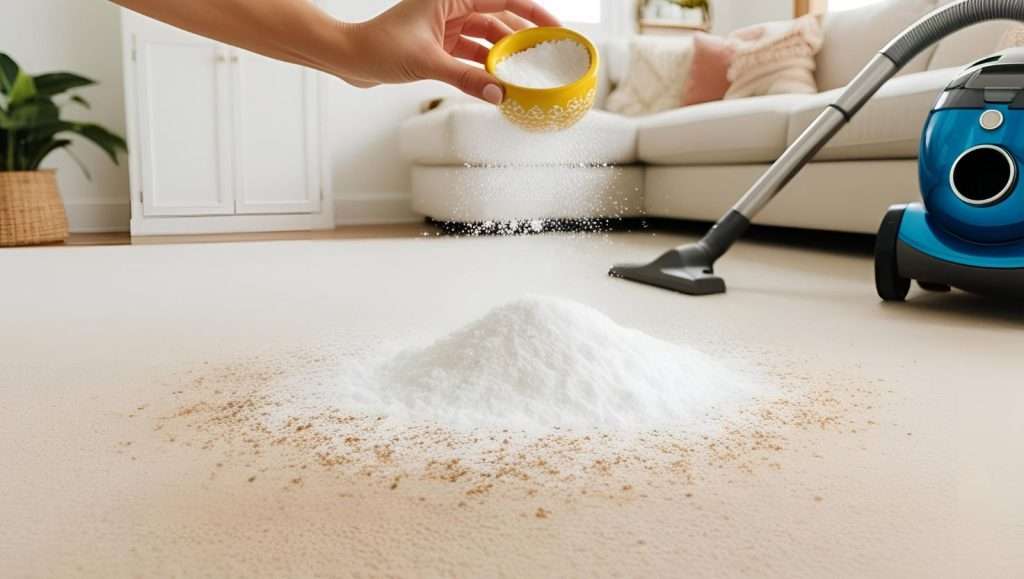
Start by removing all trash and personal items from the car, then vacuum thoroughly to remove dust, dirt, and debris from seats, floor mats, carpets, and other areas.
Make sure to use attachments to reach under seats and into crevices. Cleaning the floor mats separately is essential; rubber mats can be washed with soap and water, while carpeted will mats benefit from vacuuming followed by an upholstery cleaner.
When it comes to the seats, fabric seats require an upholstery cleaner and a soft brush to scrub away stains.
And leather seats will need a specific leather cleaner and conditioner to ensure they are cleaned and protected properly.You can read this article for homemade detailing solutions for leather seats.
Next, focus on the dashboard, center console, and other hard surfaces. Wipe them down with a microfiber cloth and an appropriate interior cleaner, and use a detailing brush to clean around buttons and vents.
Door panels, including handles, armrests, and pockets, should be wiped down as well, using a brush for hard-to-reach areas.
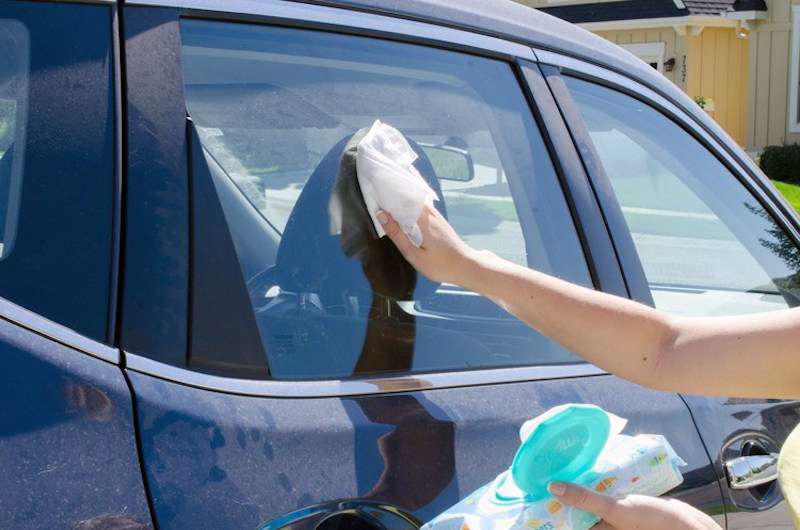
Windows and mirrors require a glass cleaner and a microfiber cloth, wiping in a circular motion to avoid streaks.
Don’t forget the air vents, which can accumulate dust; use a soft brush or compressed air to clean them.
Small detailing brushes or a toothbrush can be handy for cleaning around buttons, knobs, and other small areas.
Finally, apply a protectant to plastic, vinyl, and rubber surfaces to keep them looking new and protect them from UV damage. Leather seats should be conditioned to maintain their suppleness.
Once all surfaces are cleaned and protected, replace the floor mats and any personal items.
For a pleasant finishing touch, consider using an air freshener. By following these steps, your car’s interior will look and feel refreshed, providing a more enjoyable driving experience
Decontamination
Now moving on to the decontamination you are going to rinse off the entire car in and out, allow it to dry, and then bring it inside to start the decontamination step.
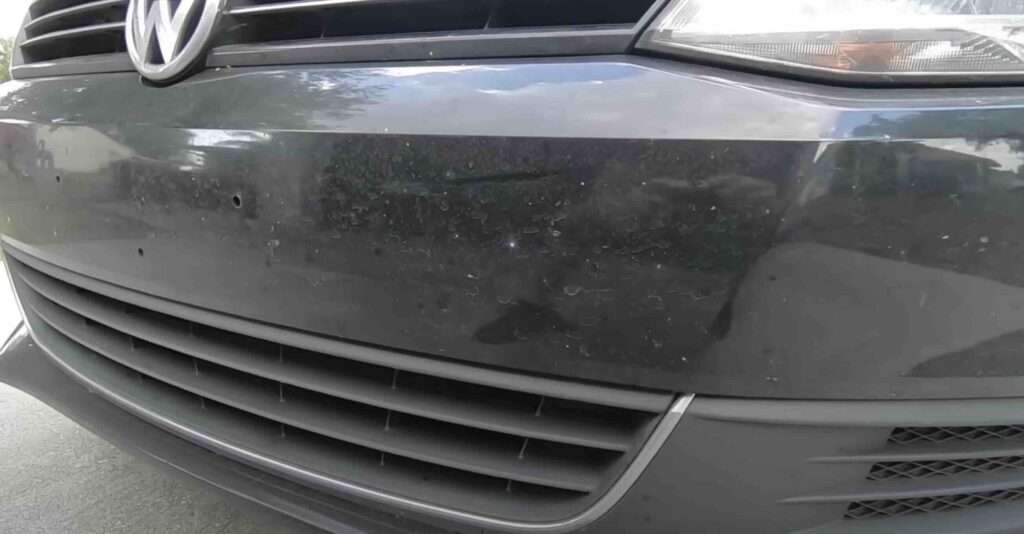
Since I know this car sees a lot of highways and after inspecting it, I knew that the paint was covered with contaminantswhich is why I did both clay and chemical decontamination.
Chemical Decontamination steps
- Spray Iron Remover: Apply a product like Iron X by Car Pro.
- Wait and Rinse: Let it sit for about 4-5 minutes until it turns purple, indicating it’s reacting with metal contaminants, then rinse off with clean water.
Claying
- Lubricate the Surface: Use a quick detailer or dedicated clay lubricant.
- Clay the Car: Rub the clay bar back and forth over the surface. It will feel gritty at first but will become smooth as contaminants are removed.
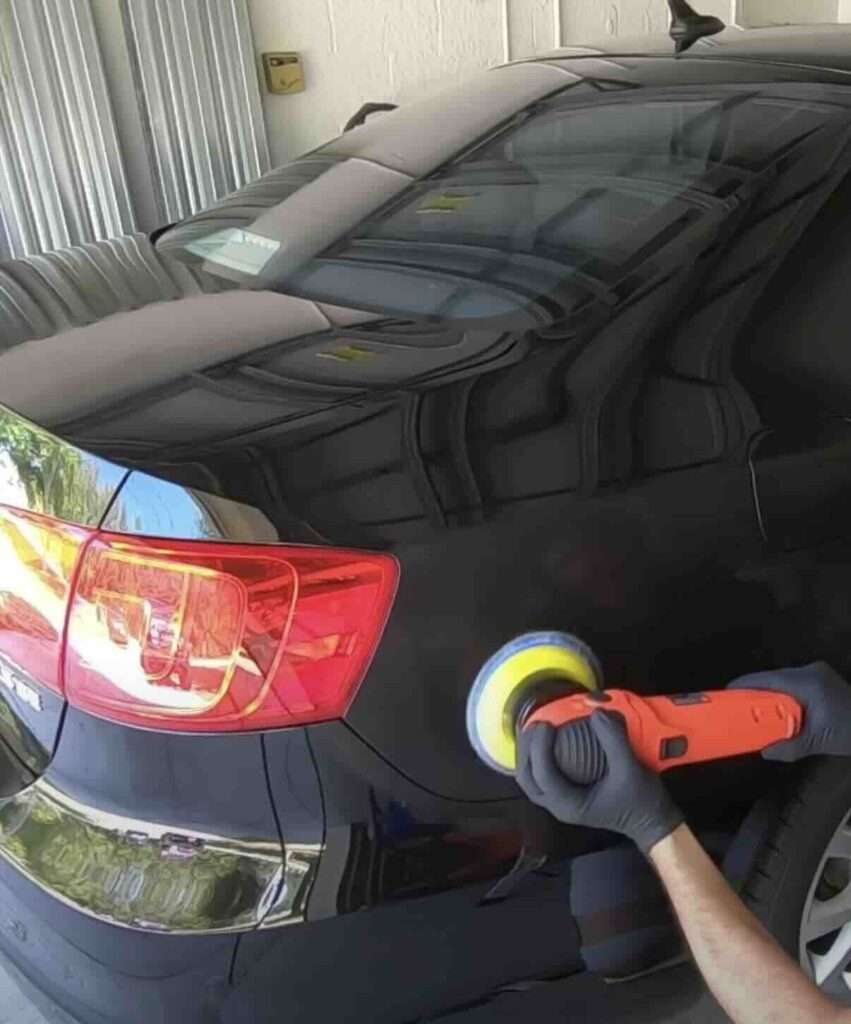
Compounding
Now that the car is washed, chemically decontaminated, and clay-barred, it’s time for compounding. You can use a Griot’s DA polisher with a microfiber cutting disc if the car paint is kind of hard, which requires a little more aggressive polisher.
Compounding removes scratches and swirl marks, now here is what to do:
- Prime the Pads by applying compound to the fibers of the microfiber cutting disc.
- Apply the Compound: Dab it onto the paint, then spread at a low speed. Increase speed and work the DA polisher in a cross-hatch pattern.
Polishing
Polishing restores shine to the paint after compounding:
- Apply Polish: Use a polishing pad with three or four pea-sized drops of polish.
- Polish the Car: Work in the same cross-hatch pattern.
Prepping for Ceramic Coating
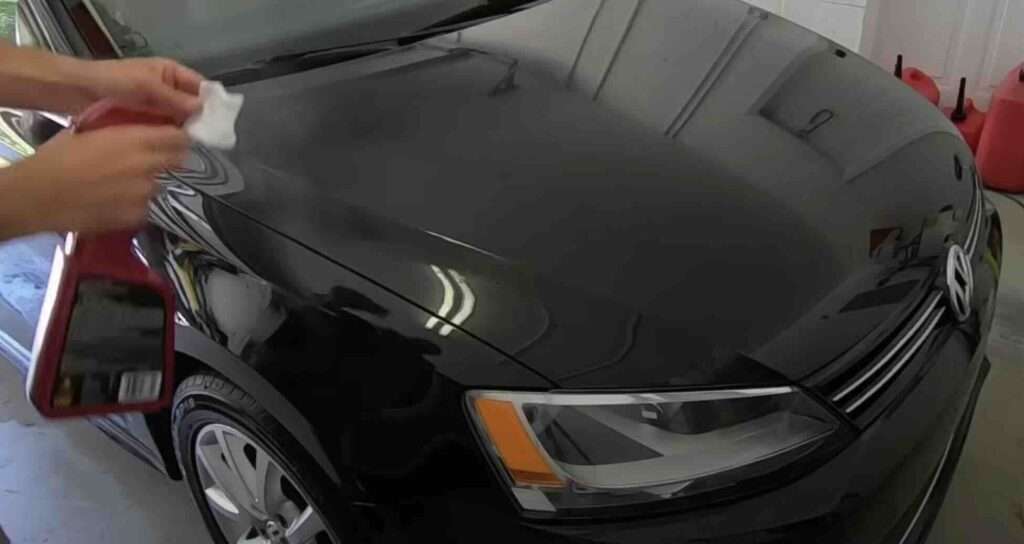
- IPA Wash: Mix 50% isopropyl alcohol with 50% water. Spray onto the paint and wipe with a microfiber towel. This removes polishing oils and prepares the surface for ceramic coating.
Applying the Ceramic Coating
Ceramic coating adds a protective layer to your car’s paint:
- Panel by Panel: Apply the coating one panel at a time.
- Buffing: Use the provided buffing towel to remove excess coating.
- Curing Time: Allow the coating to cure for at least five hours. Avoid getting the car wet for two days and do not wash it for four to seven days.
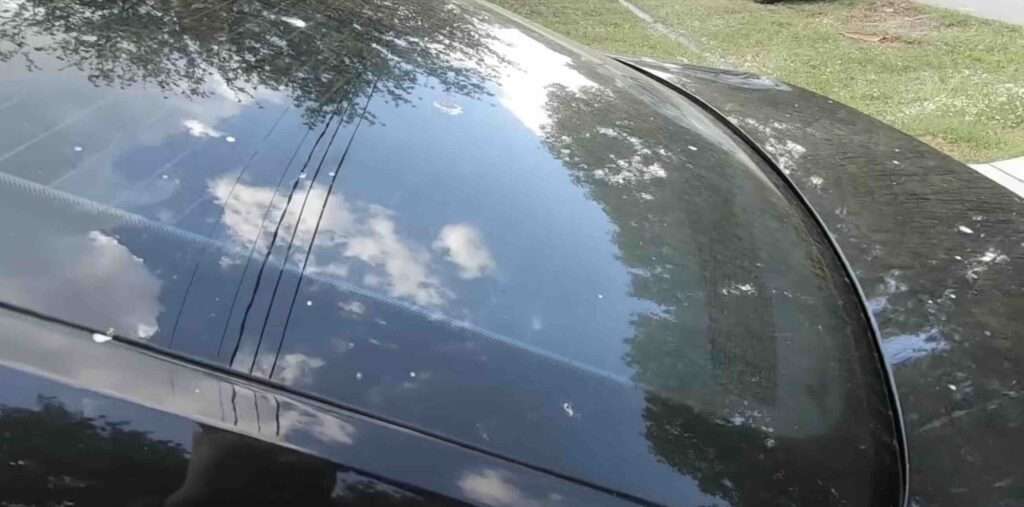
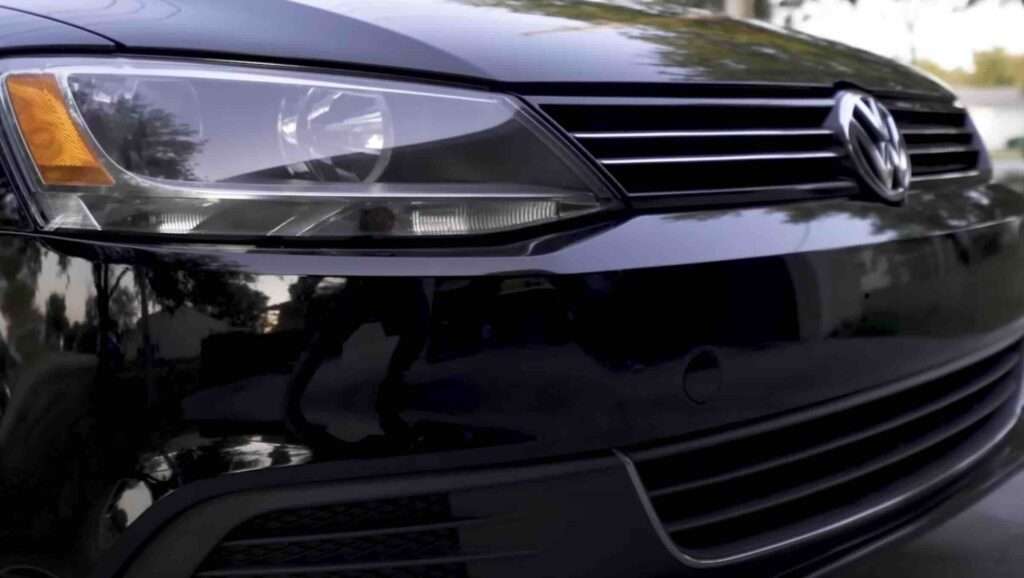
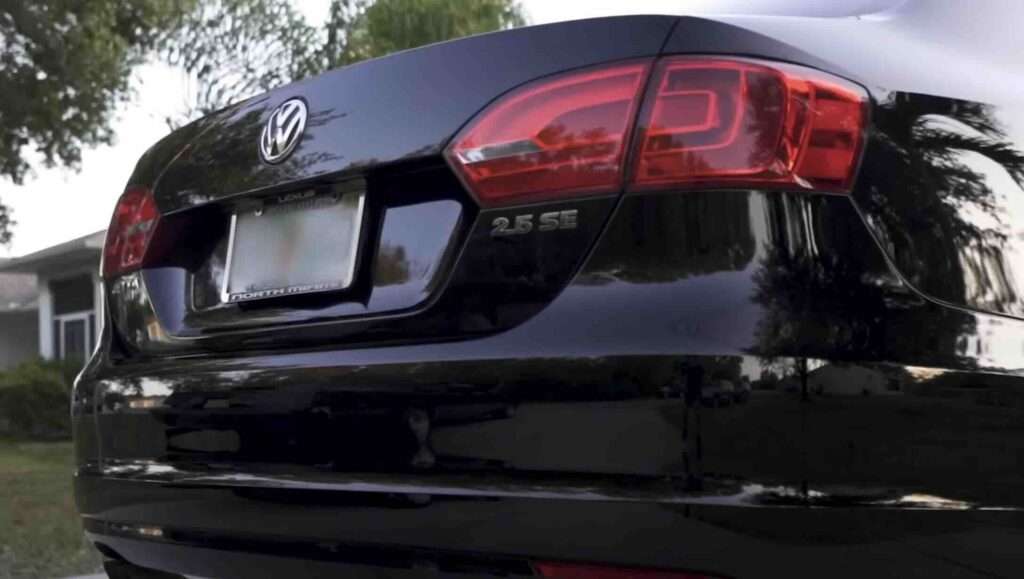
Now let’s see the before and after final Results
After following these steps, your car should be clean, smooth, and protected. The ceramic coating will add a hydrophobic layer, making future cleanings easier and protecting your paint from environmental damage.

Conclusion
Detailing your car like a pro requires time, patience, and the right tools, products, and steps of which this article on how to detail your own car like a pro has covered all you need to do and the steps.
By following these steps, you can achieve a professional-grade finish that will make your car look and feel brand new.
We covered how to detail your car interior like a pro and how to detail a car exterior like a pro.
Then we finished off with the final little details that make the difference which include Decontamination, Polishing, and the application of Ceramic Coating to protect the car’s paint.
I hope this has helped you; please join our newsletter for a more helpful guide.